Walkthrough
This guide will walk you through the process of creating your first organization, adding a member, and navigating through Bifrost.
You can follow along using any mean described in the Try hyperfluid section.
Create an organization
The first time you will log-in, you will be prompted to create your first organization.
If you don’t want to create an organization but just join an existing one, you can stop here and just ask the organization owner to invite you.
If you want to continue by creating your own organization, you just need to define a (unique) name for your organization and click on the “Create” button.
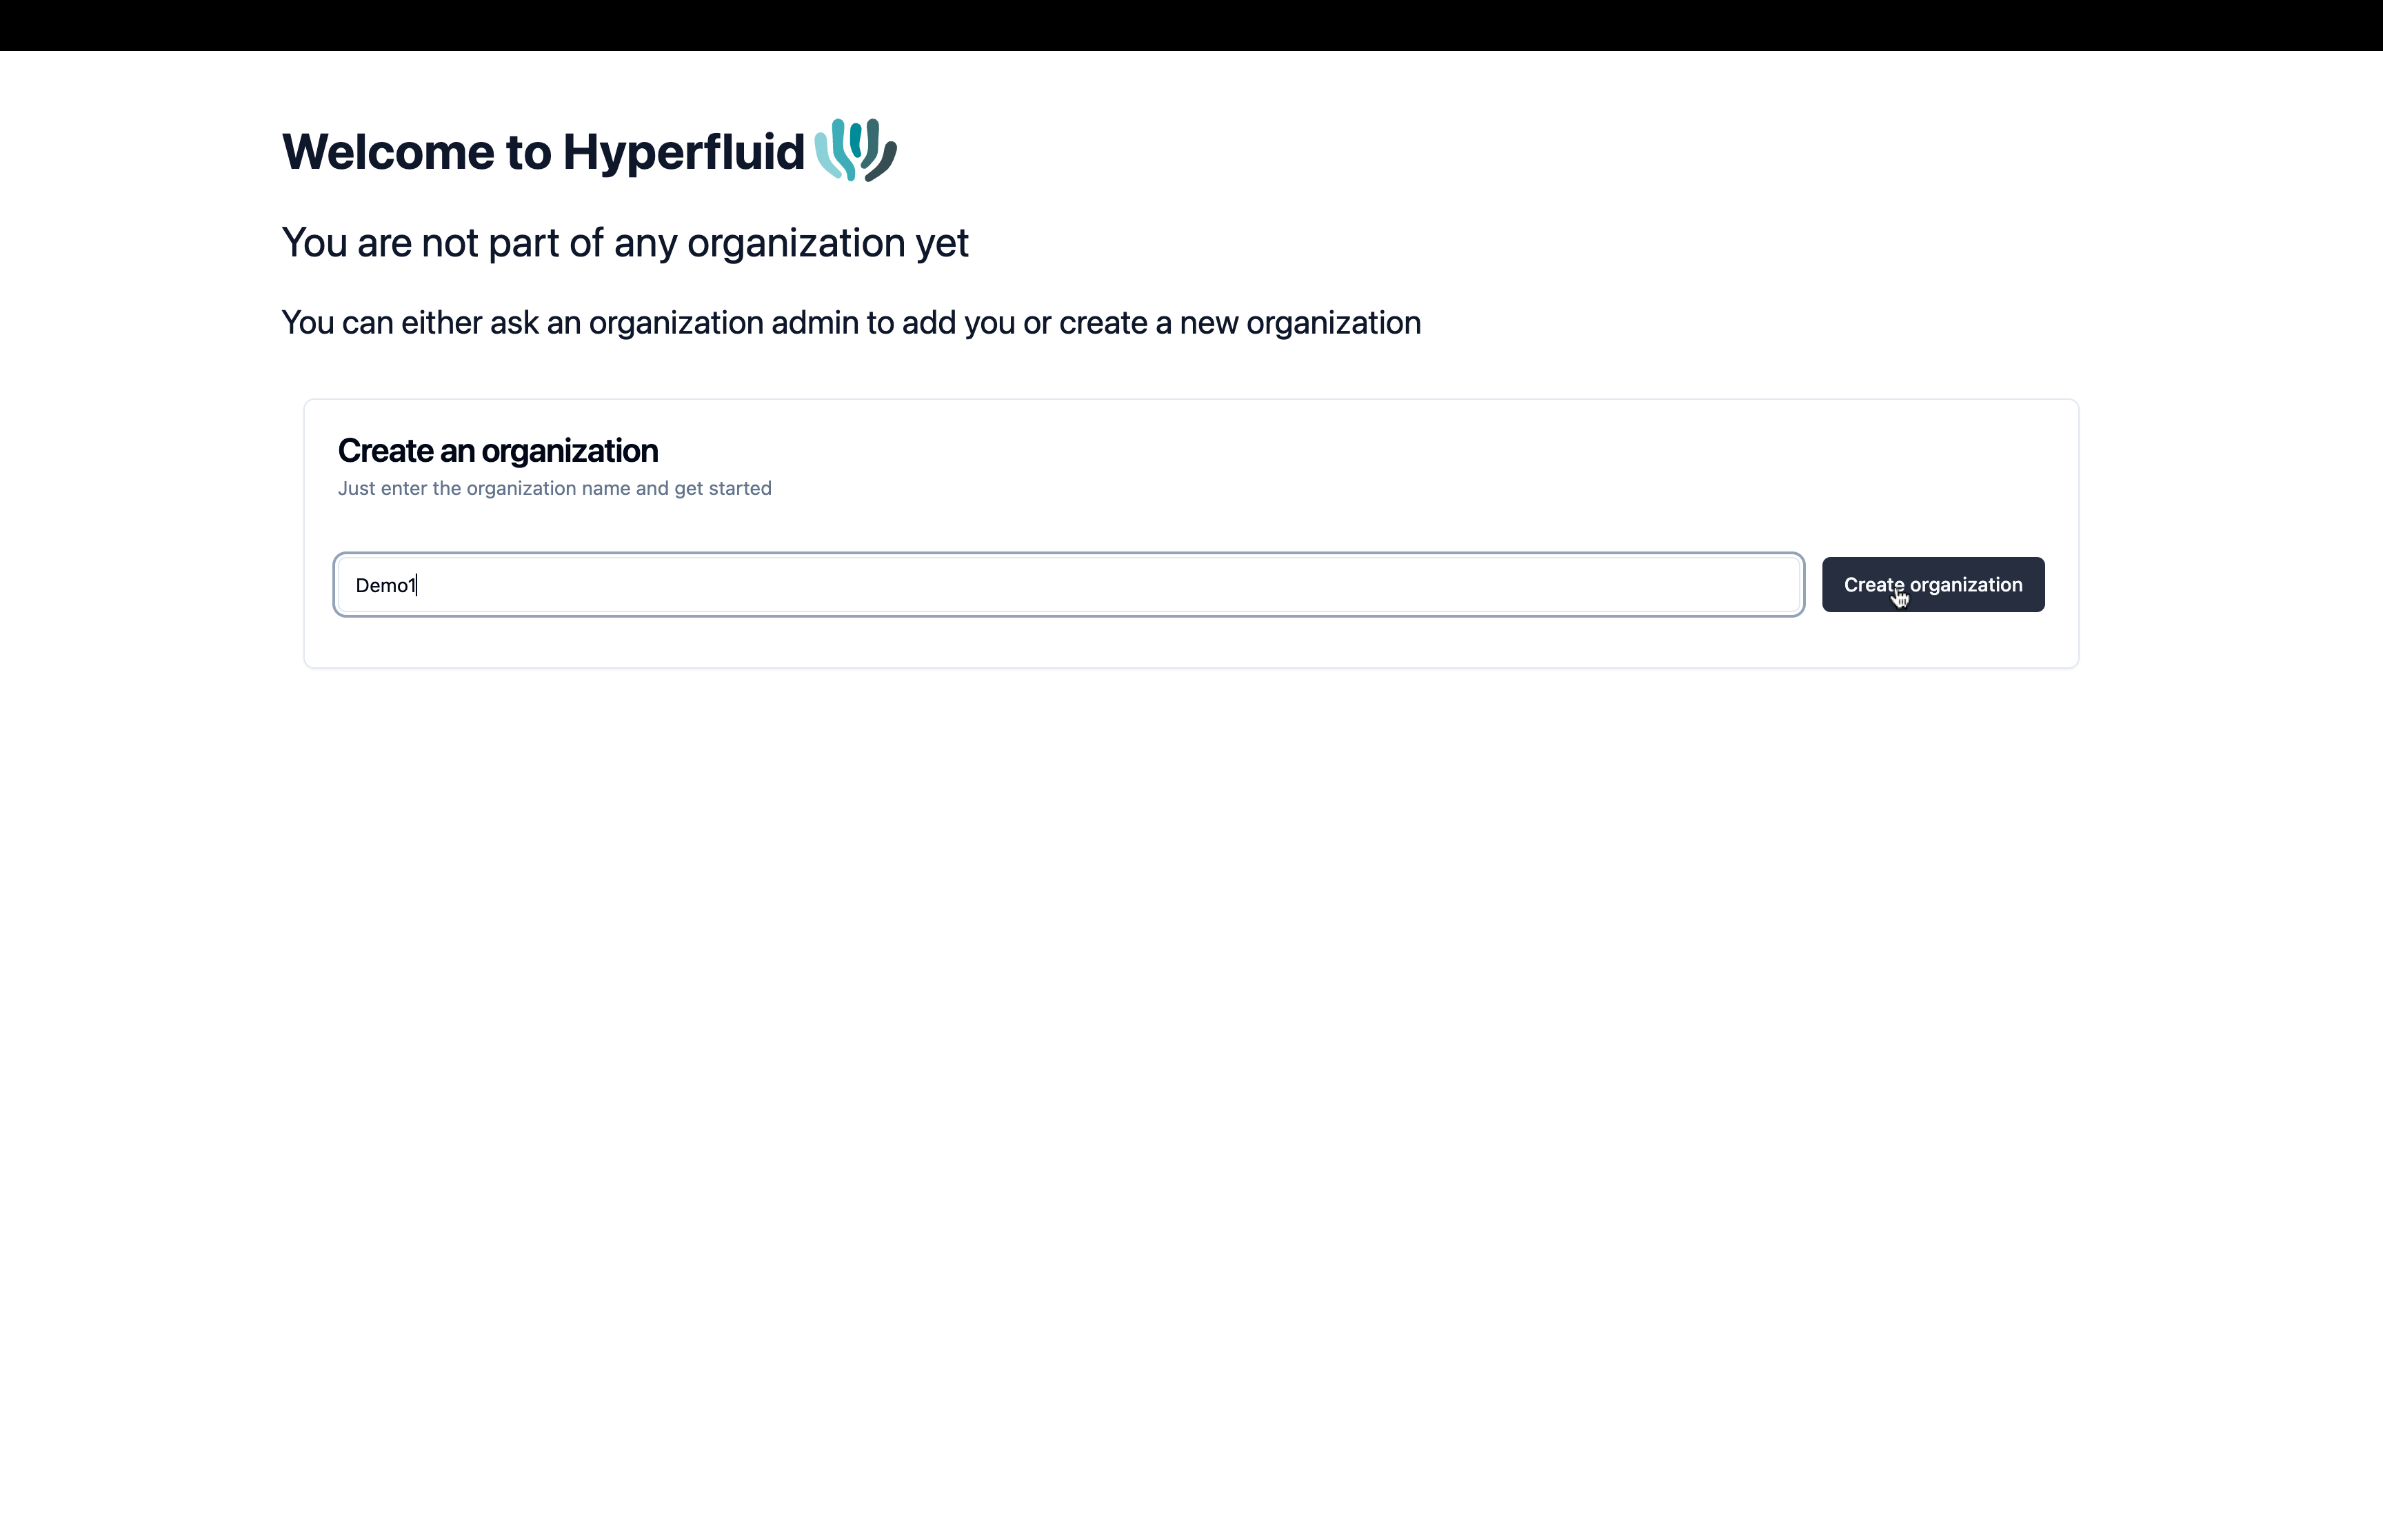
Create another organization
If you’re already part of an organization and want to create another one, you can do so by clicking on the “Create new org” button in the organization switcher.
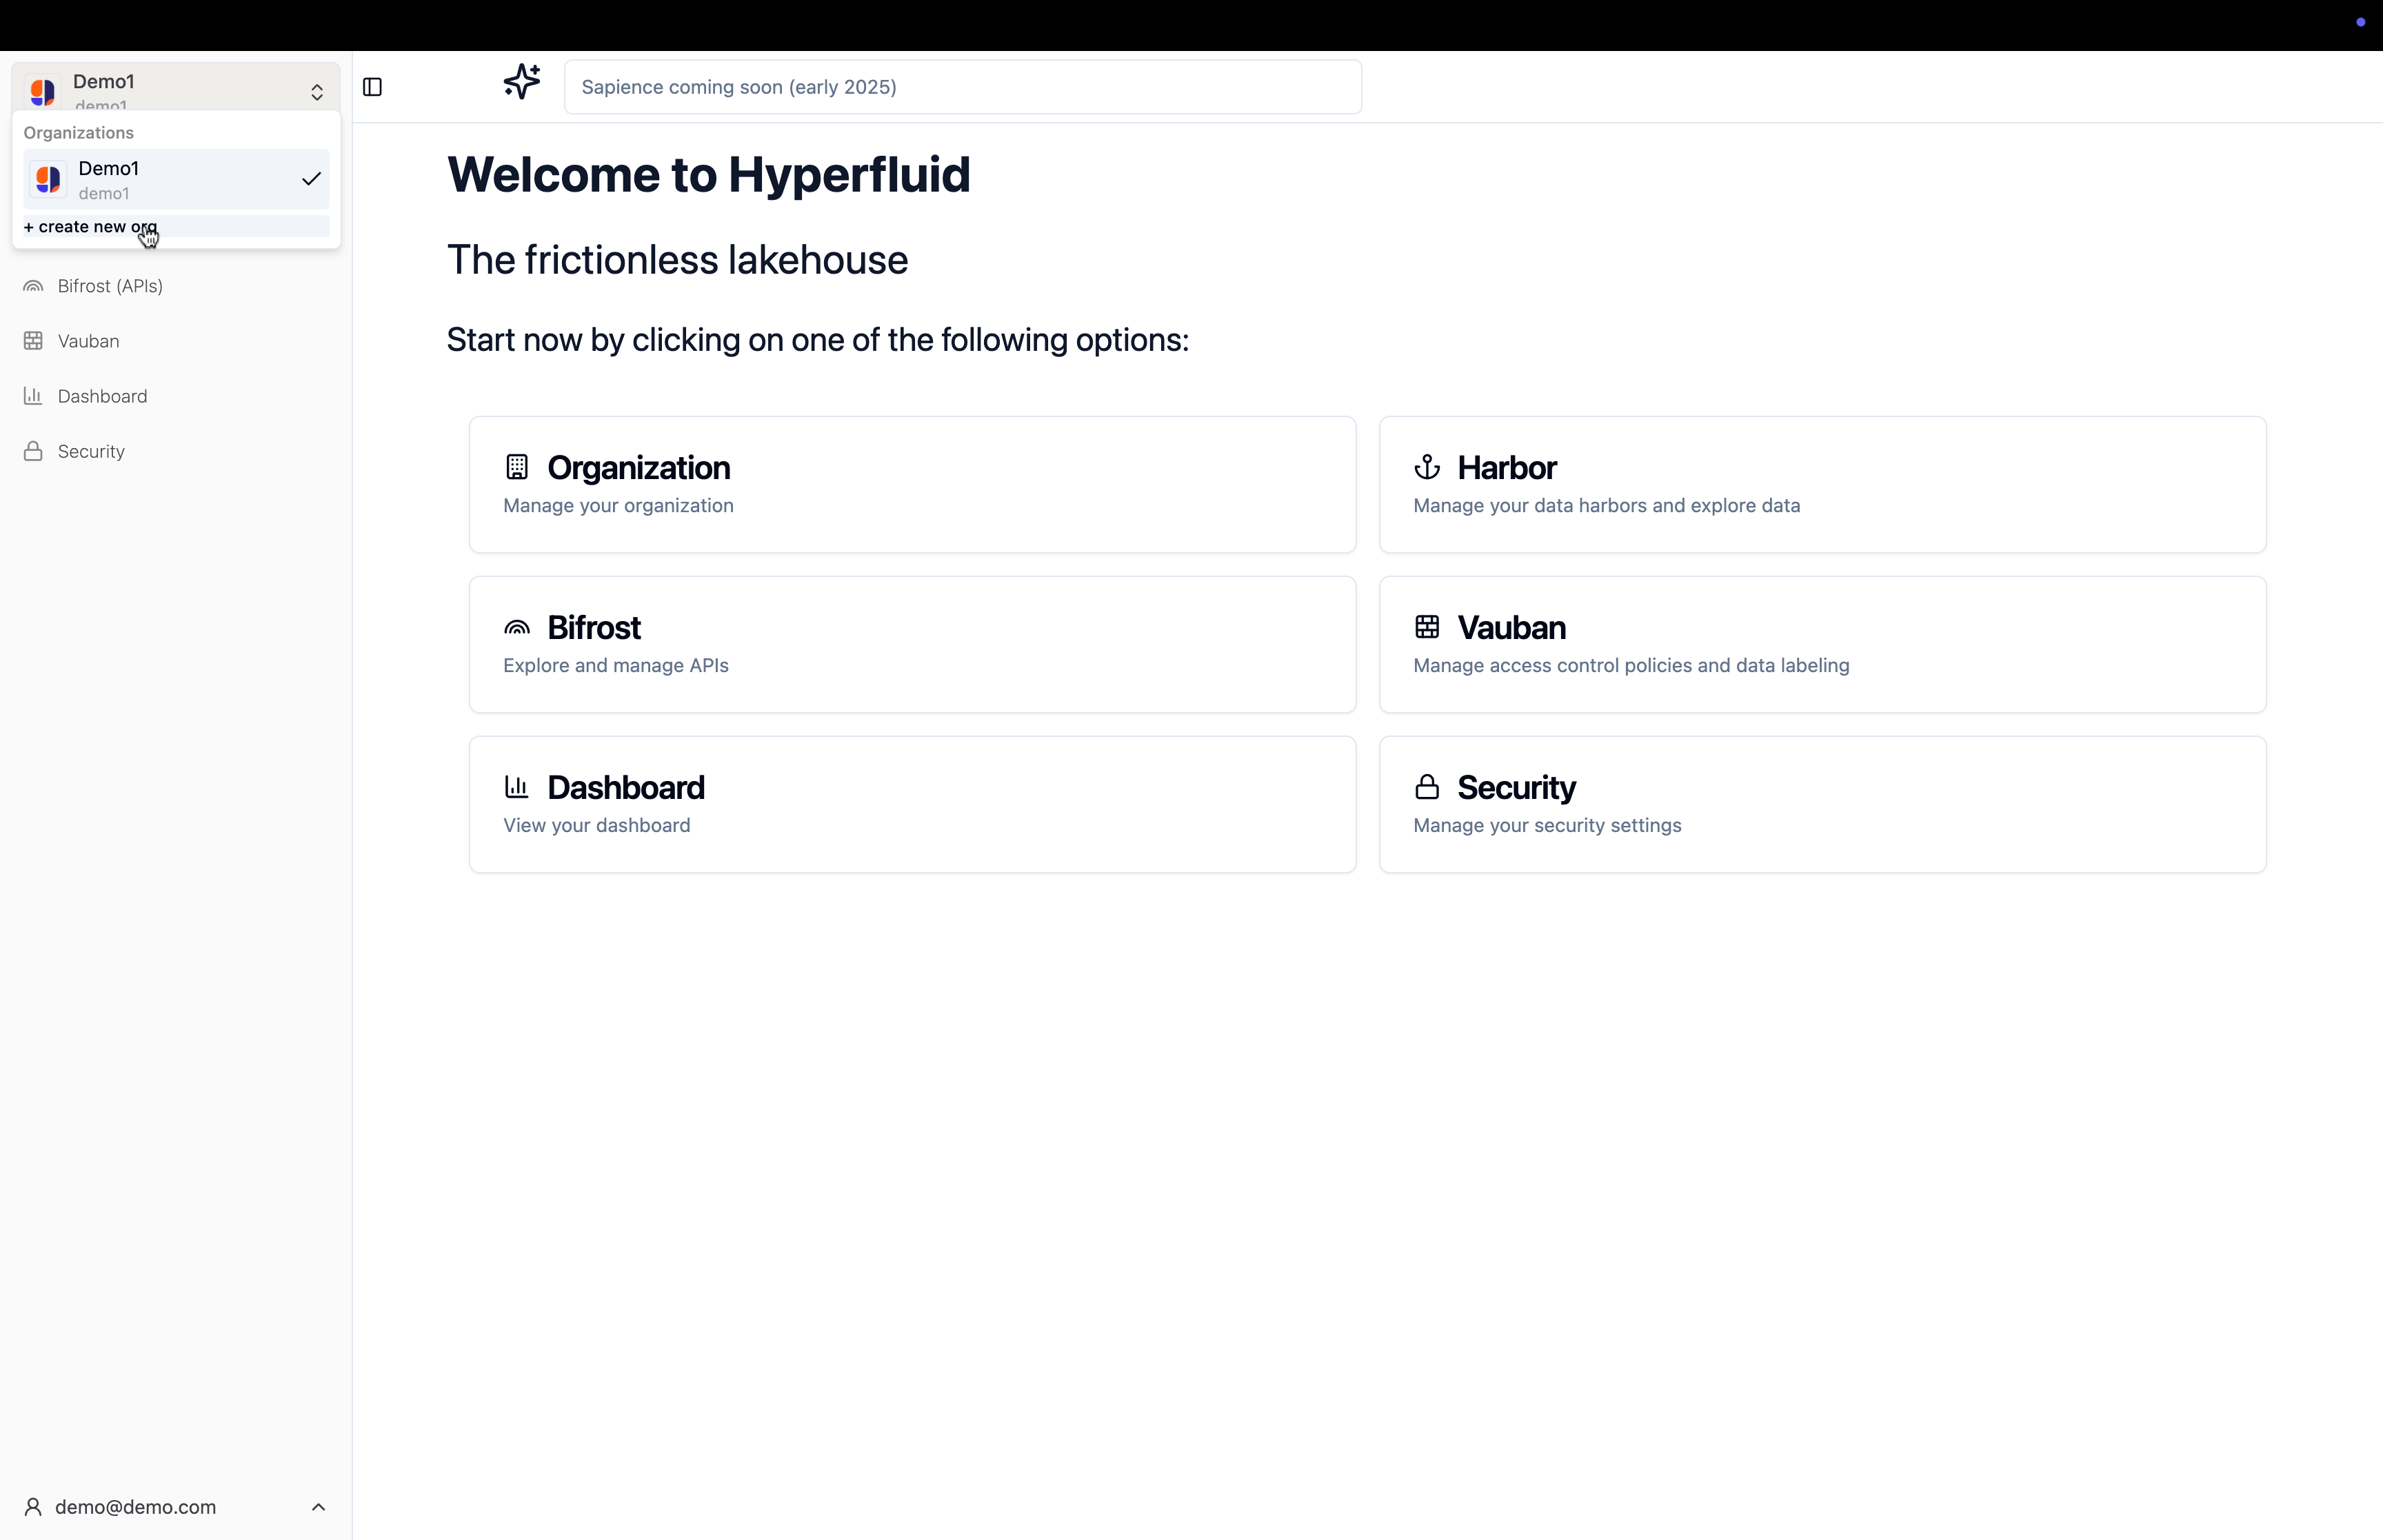
Firsts steps in a new organization!
After creating your organization, you will be redirected to the welcome page. Here you can find some useful links to get started with Hyperfluid. (those links are also available in the sidebar)
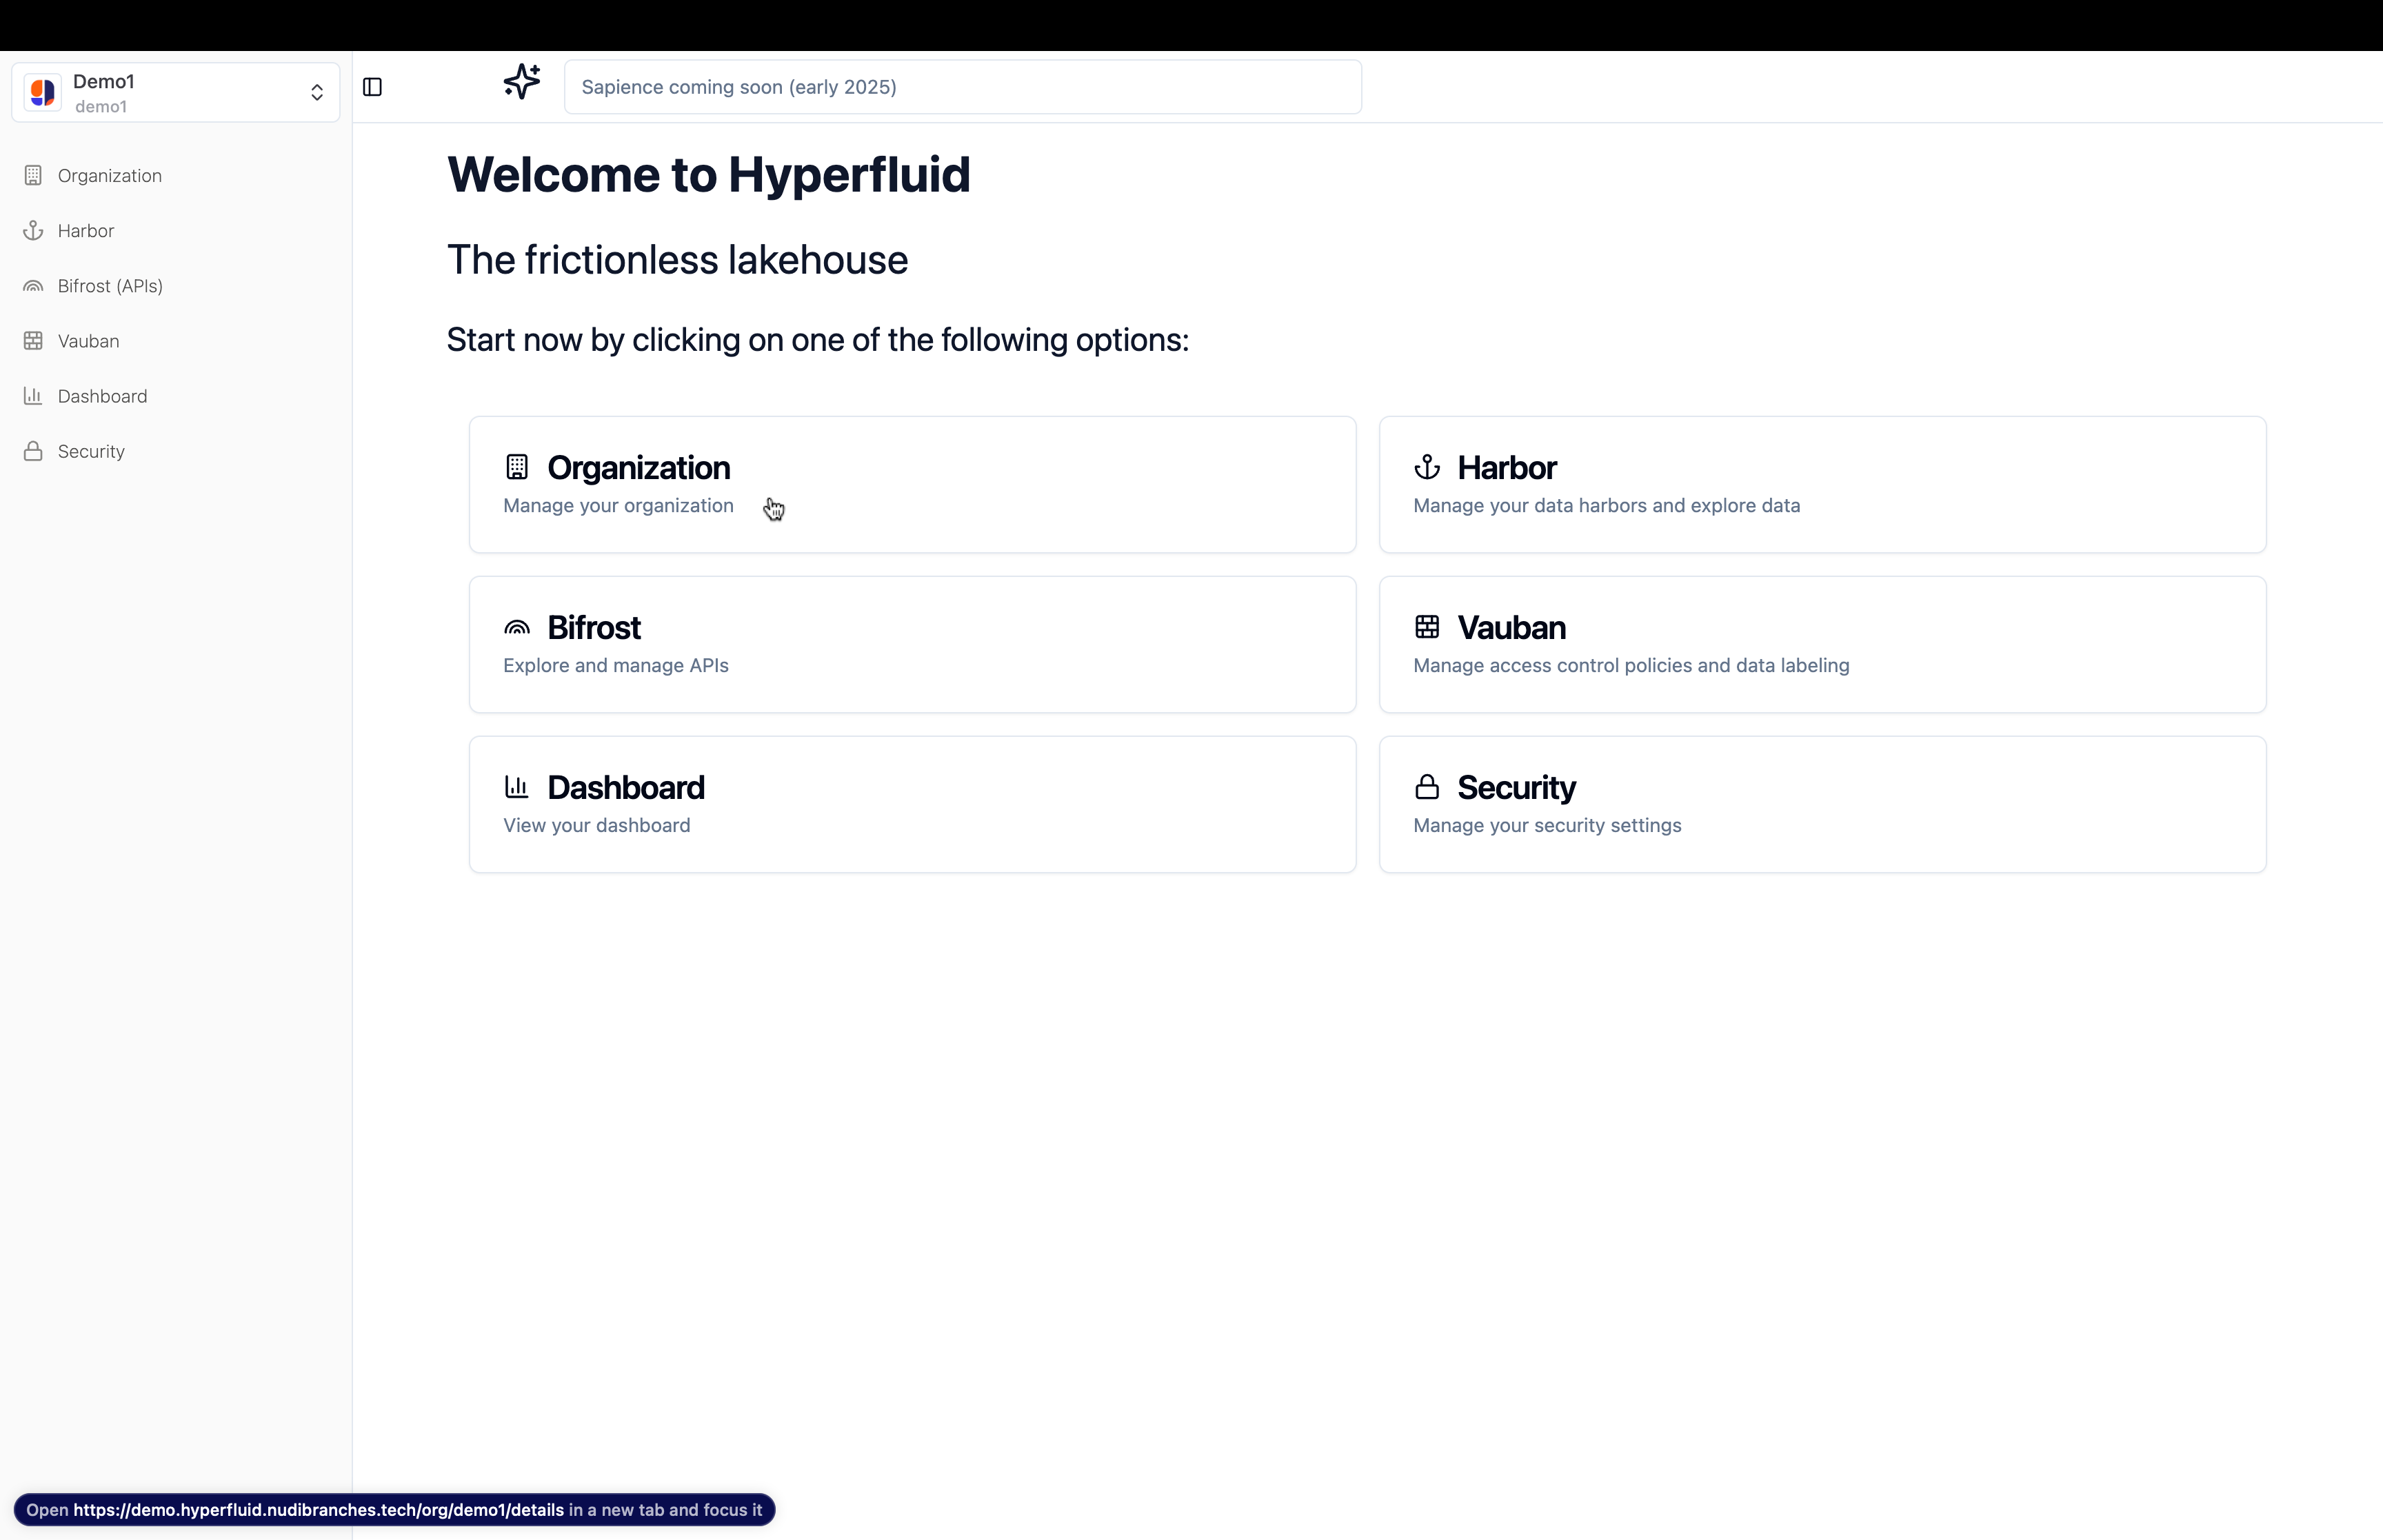
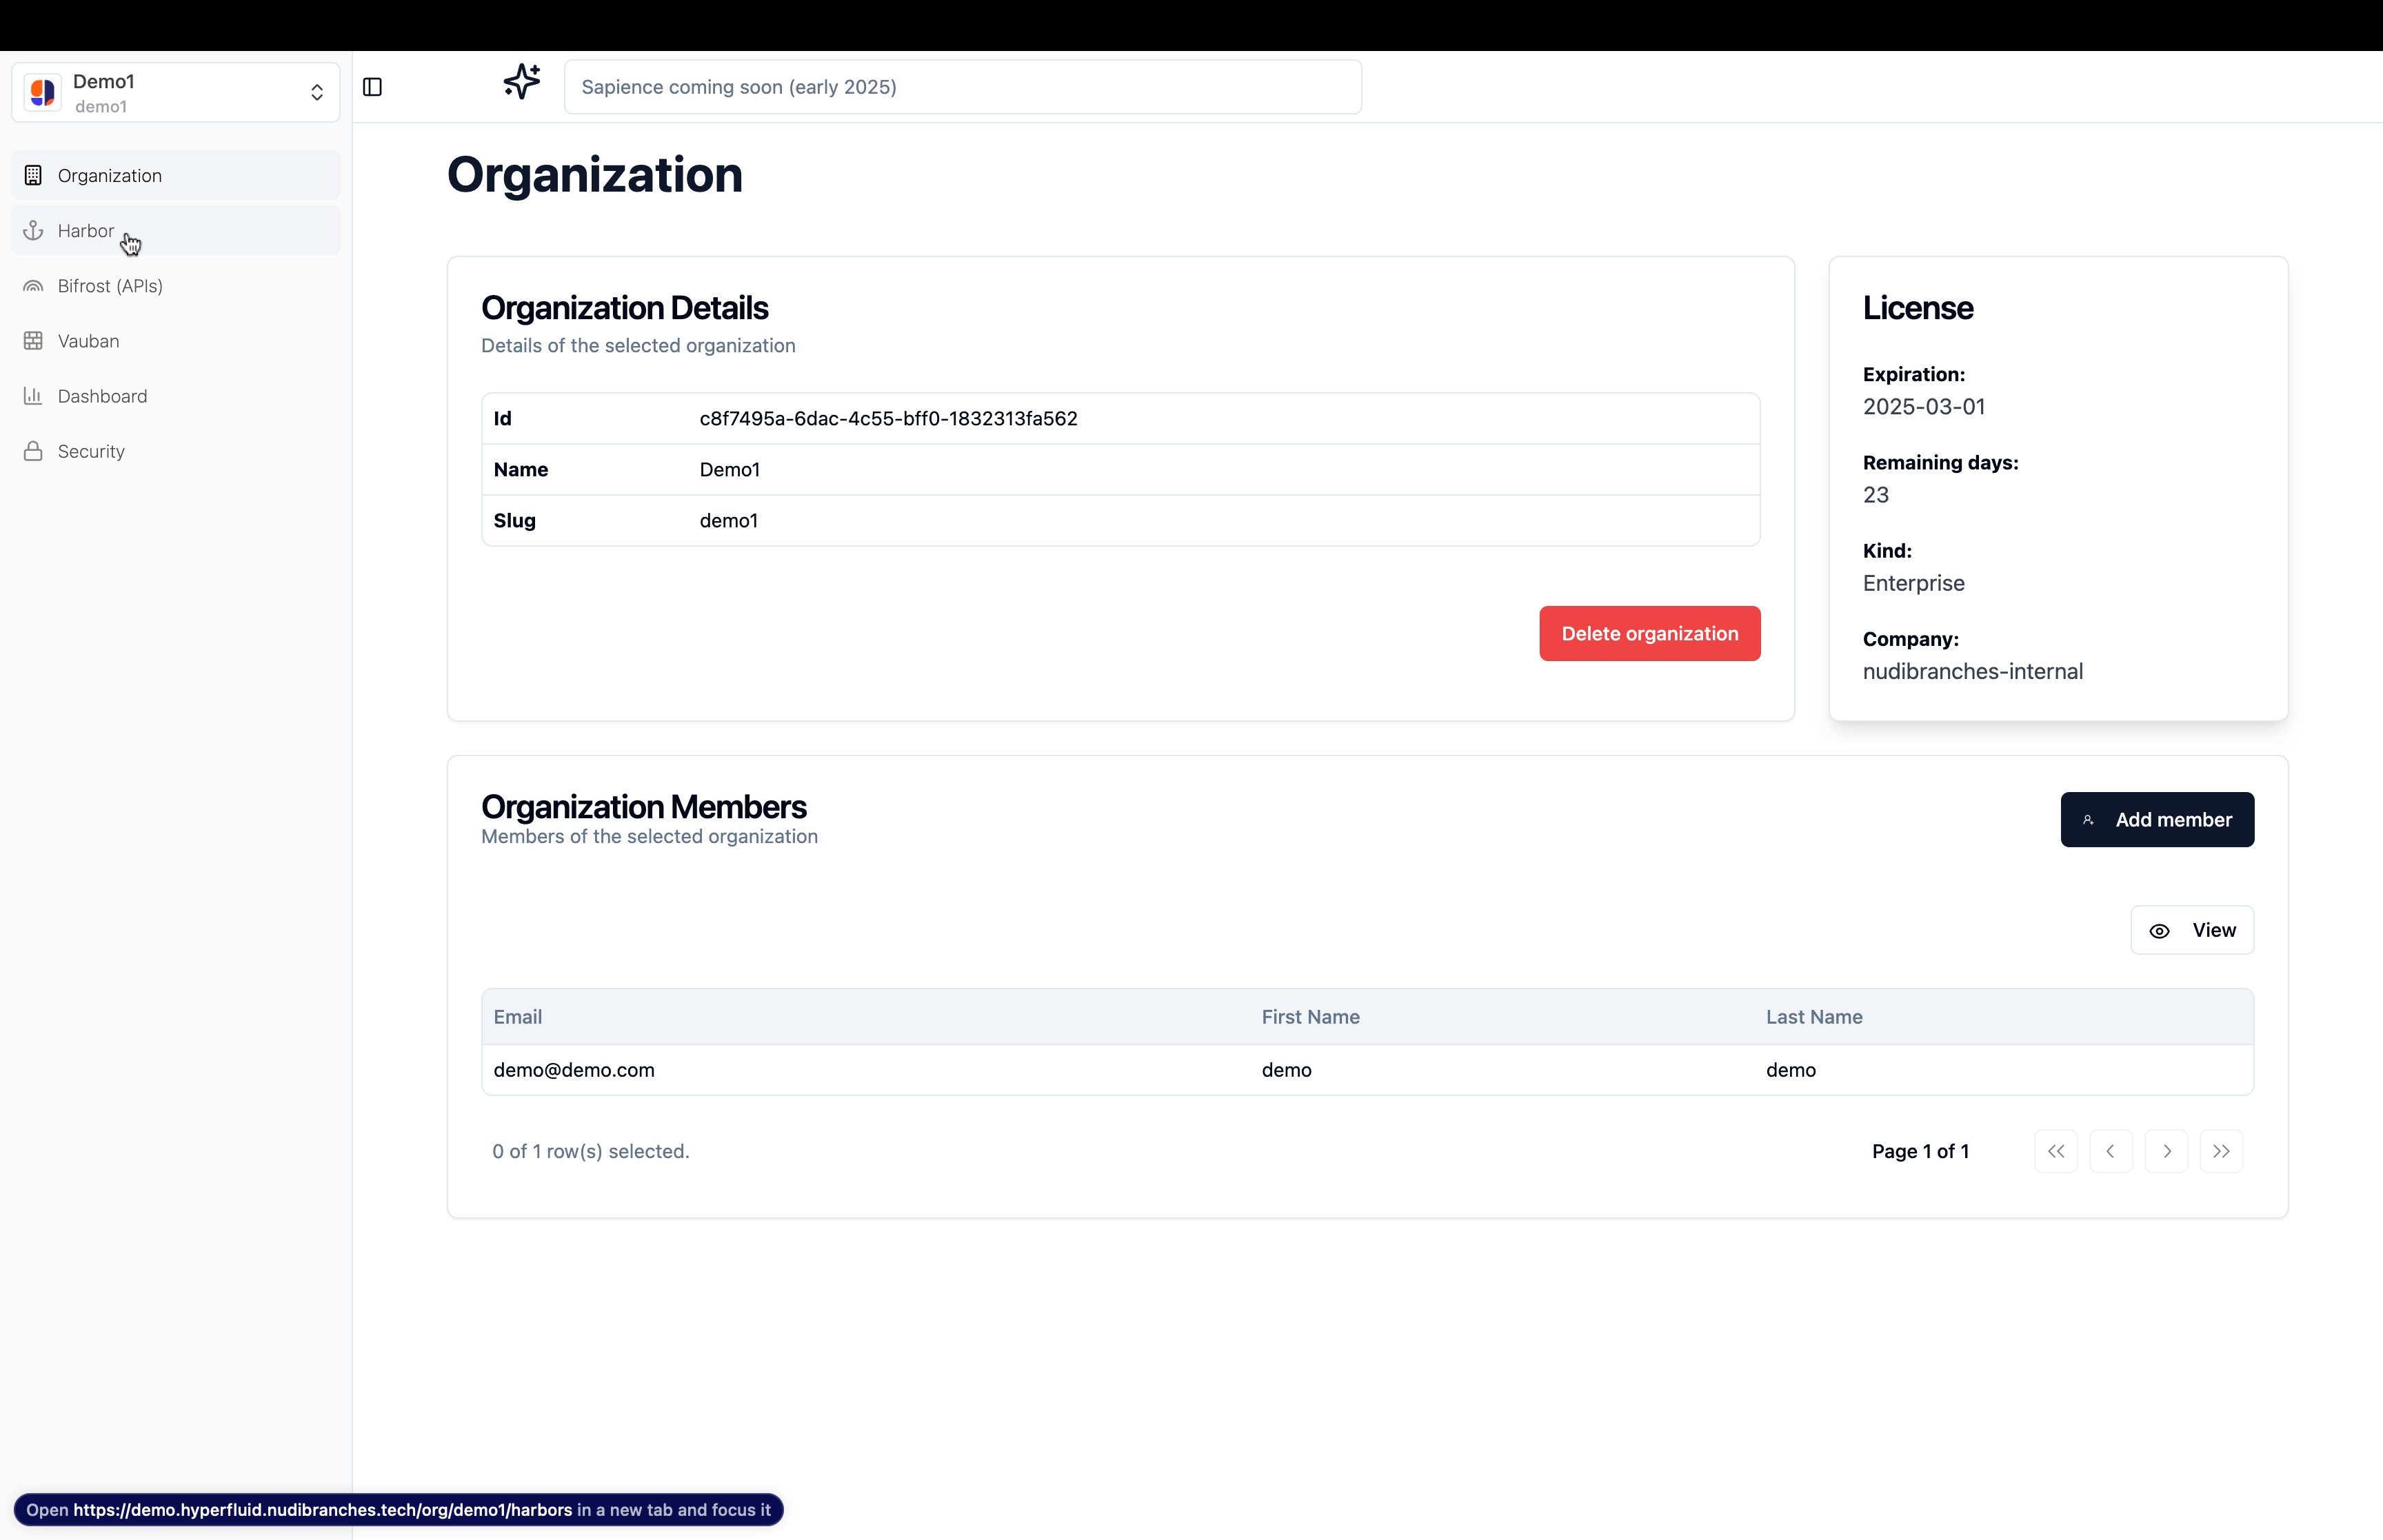
Let’s begin by going to the organization page.

Here you can see some relevant information about your organization and add members to it.
Harbor page
Now, let’s go to the Harbor page.
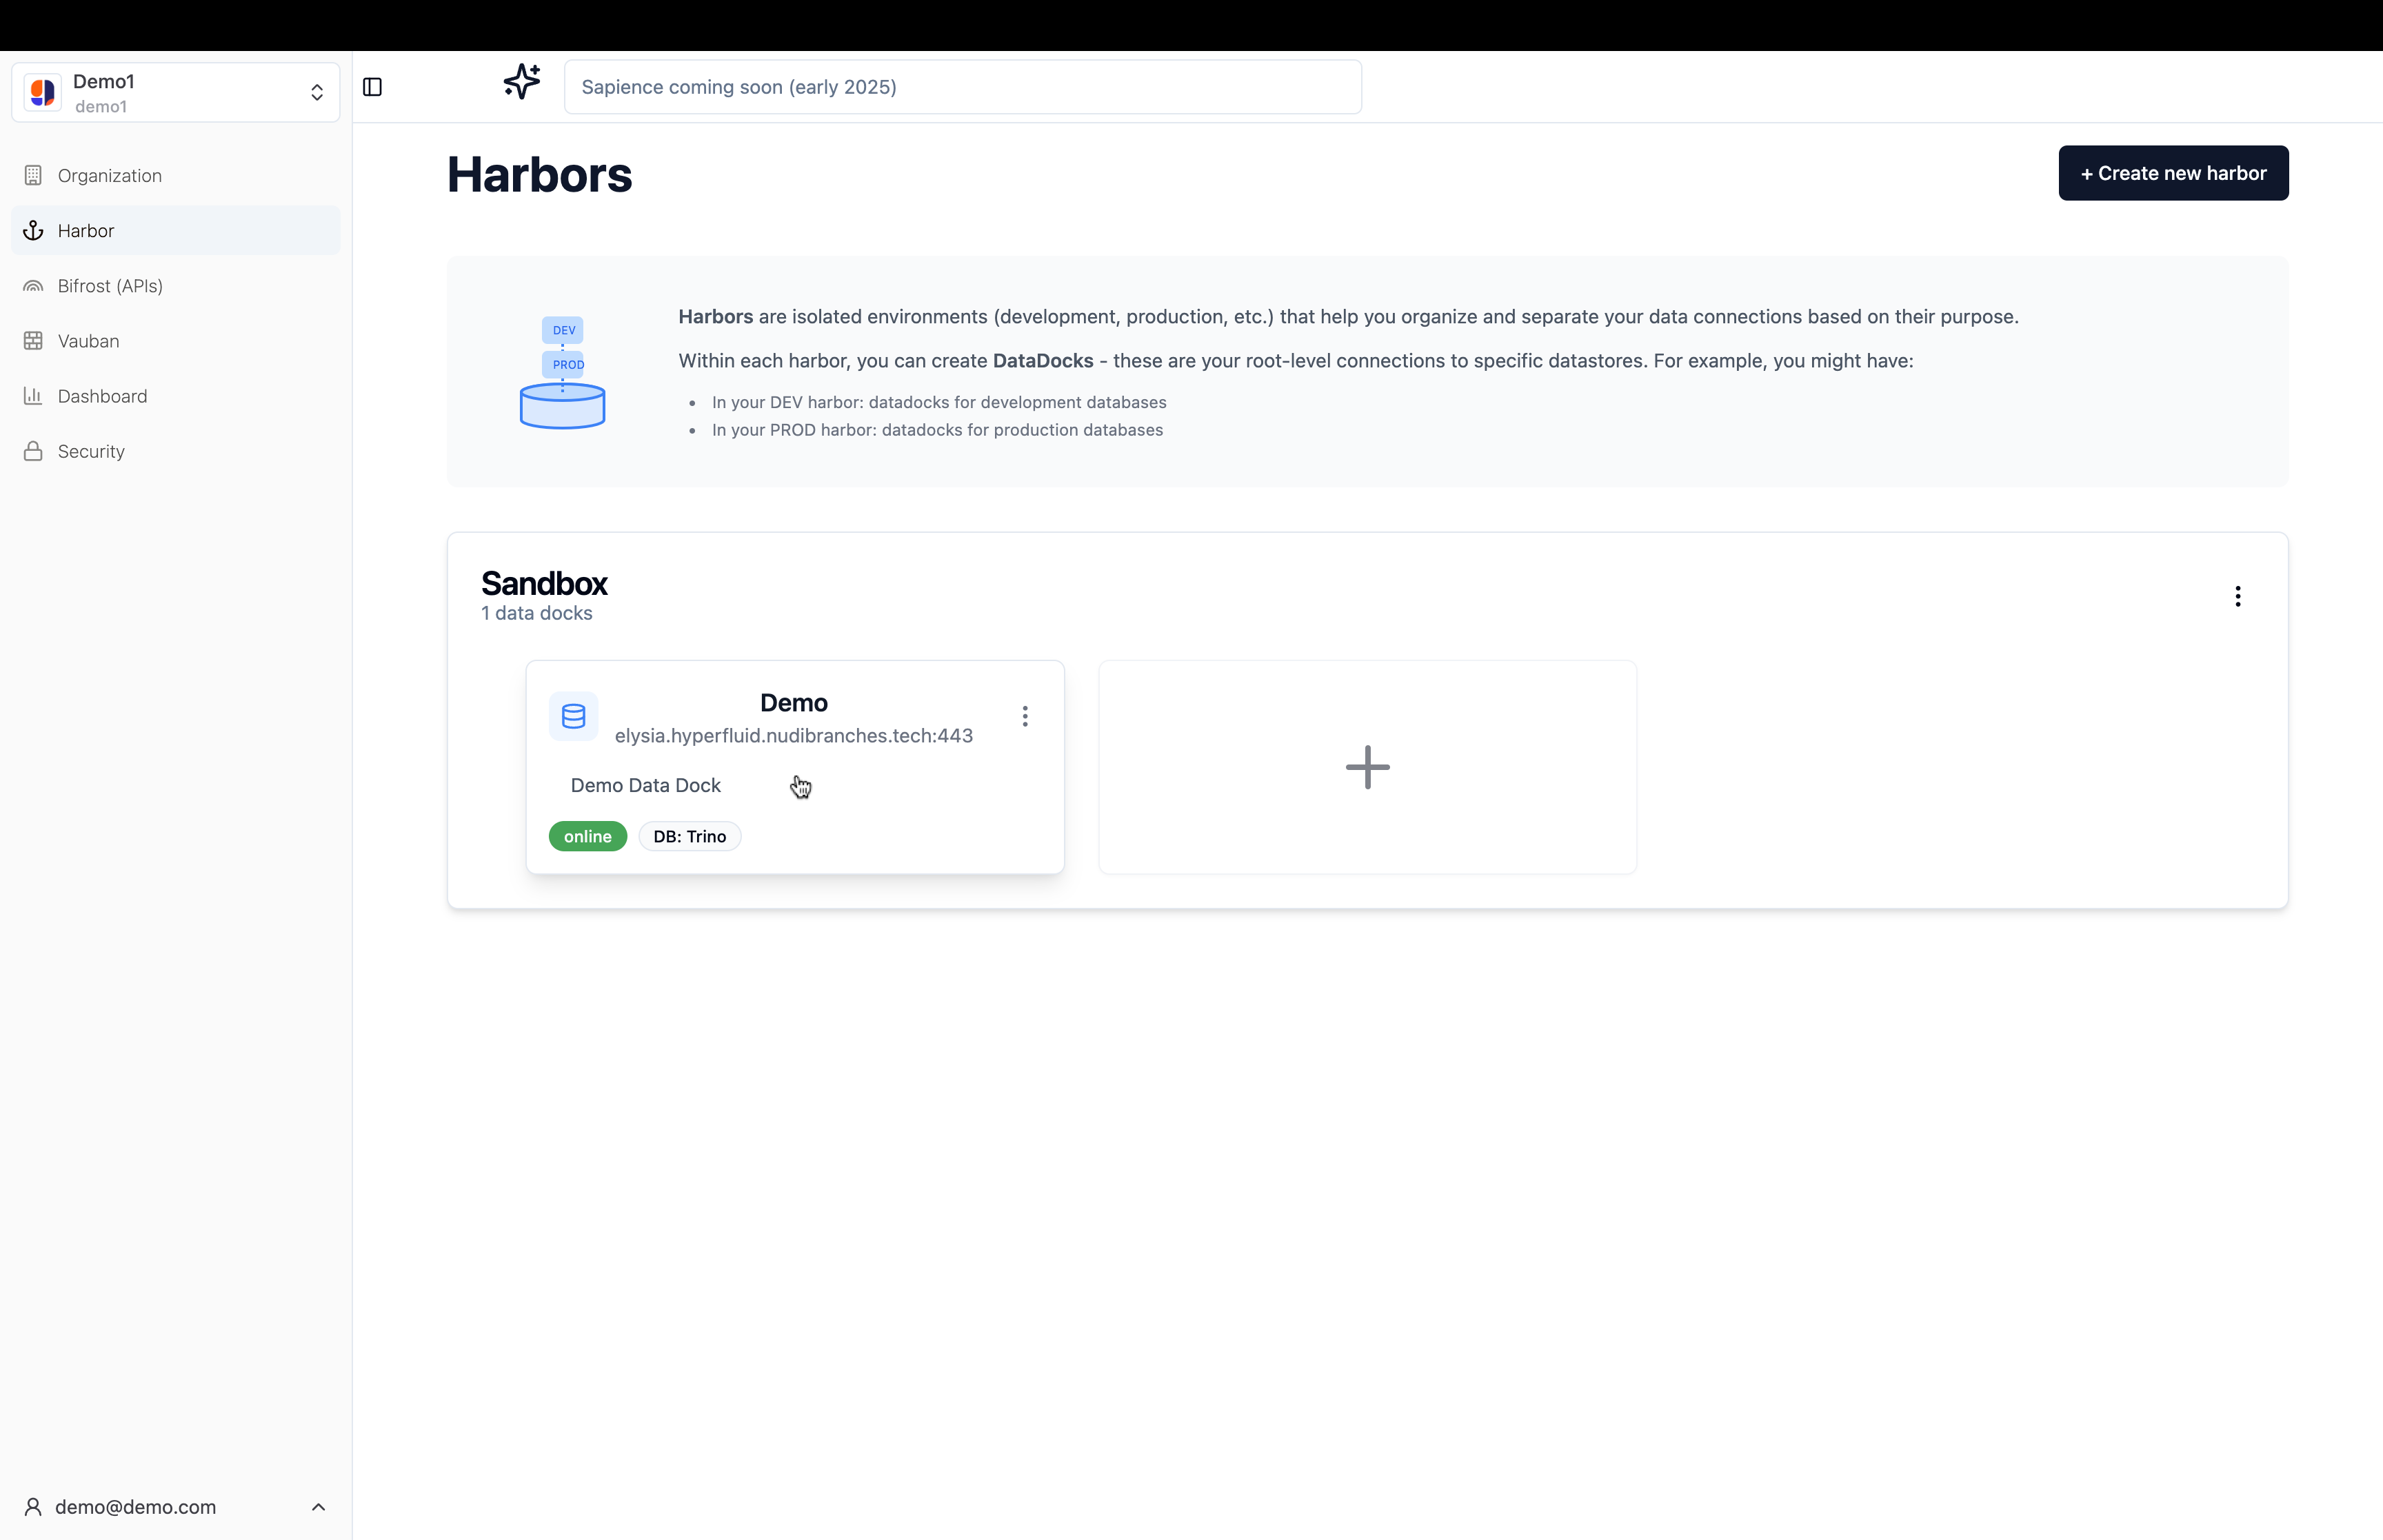
If you’re using our online demo environment, a ‘Sandbox’ harbor and a ‘Demo’ data dock have already been created for you.
If you’re using your own environment, please refer to the Create a data dock guide.
You can start exploring the data dock by clicking on it and then on the ‘Open in Bifrost’ button.
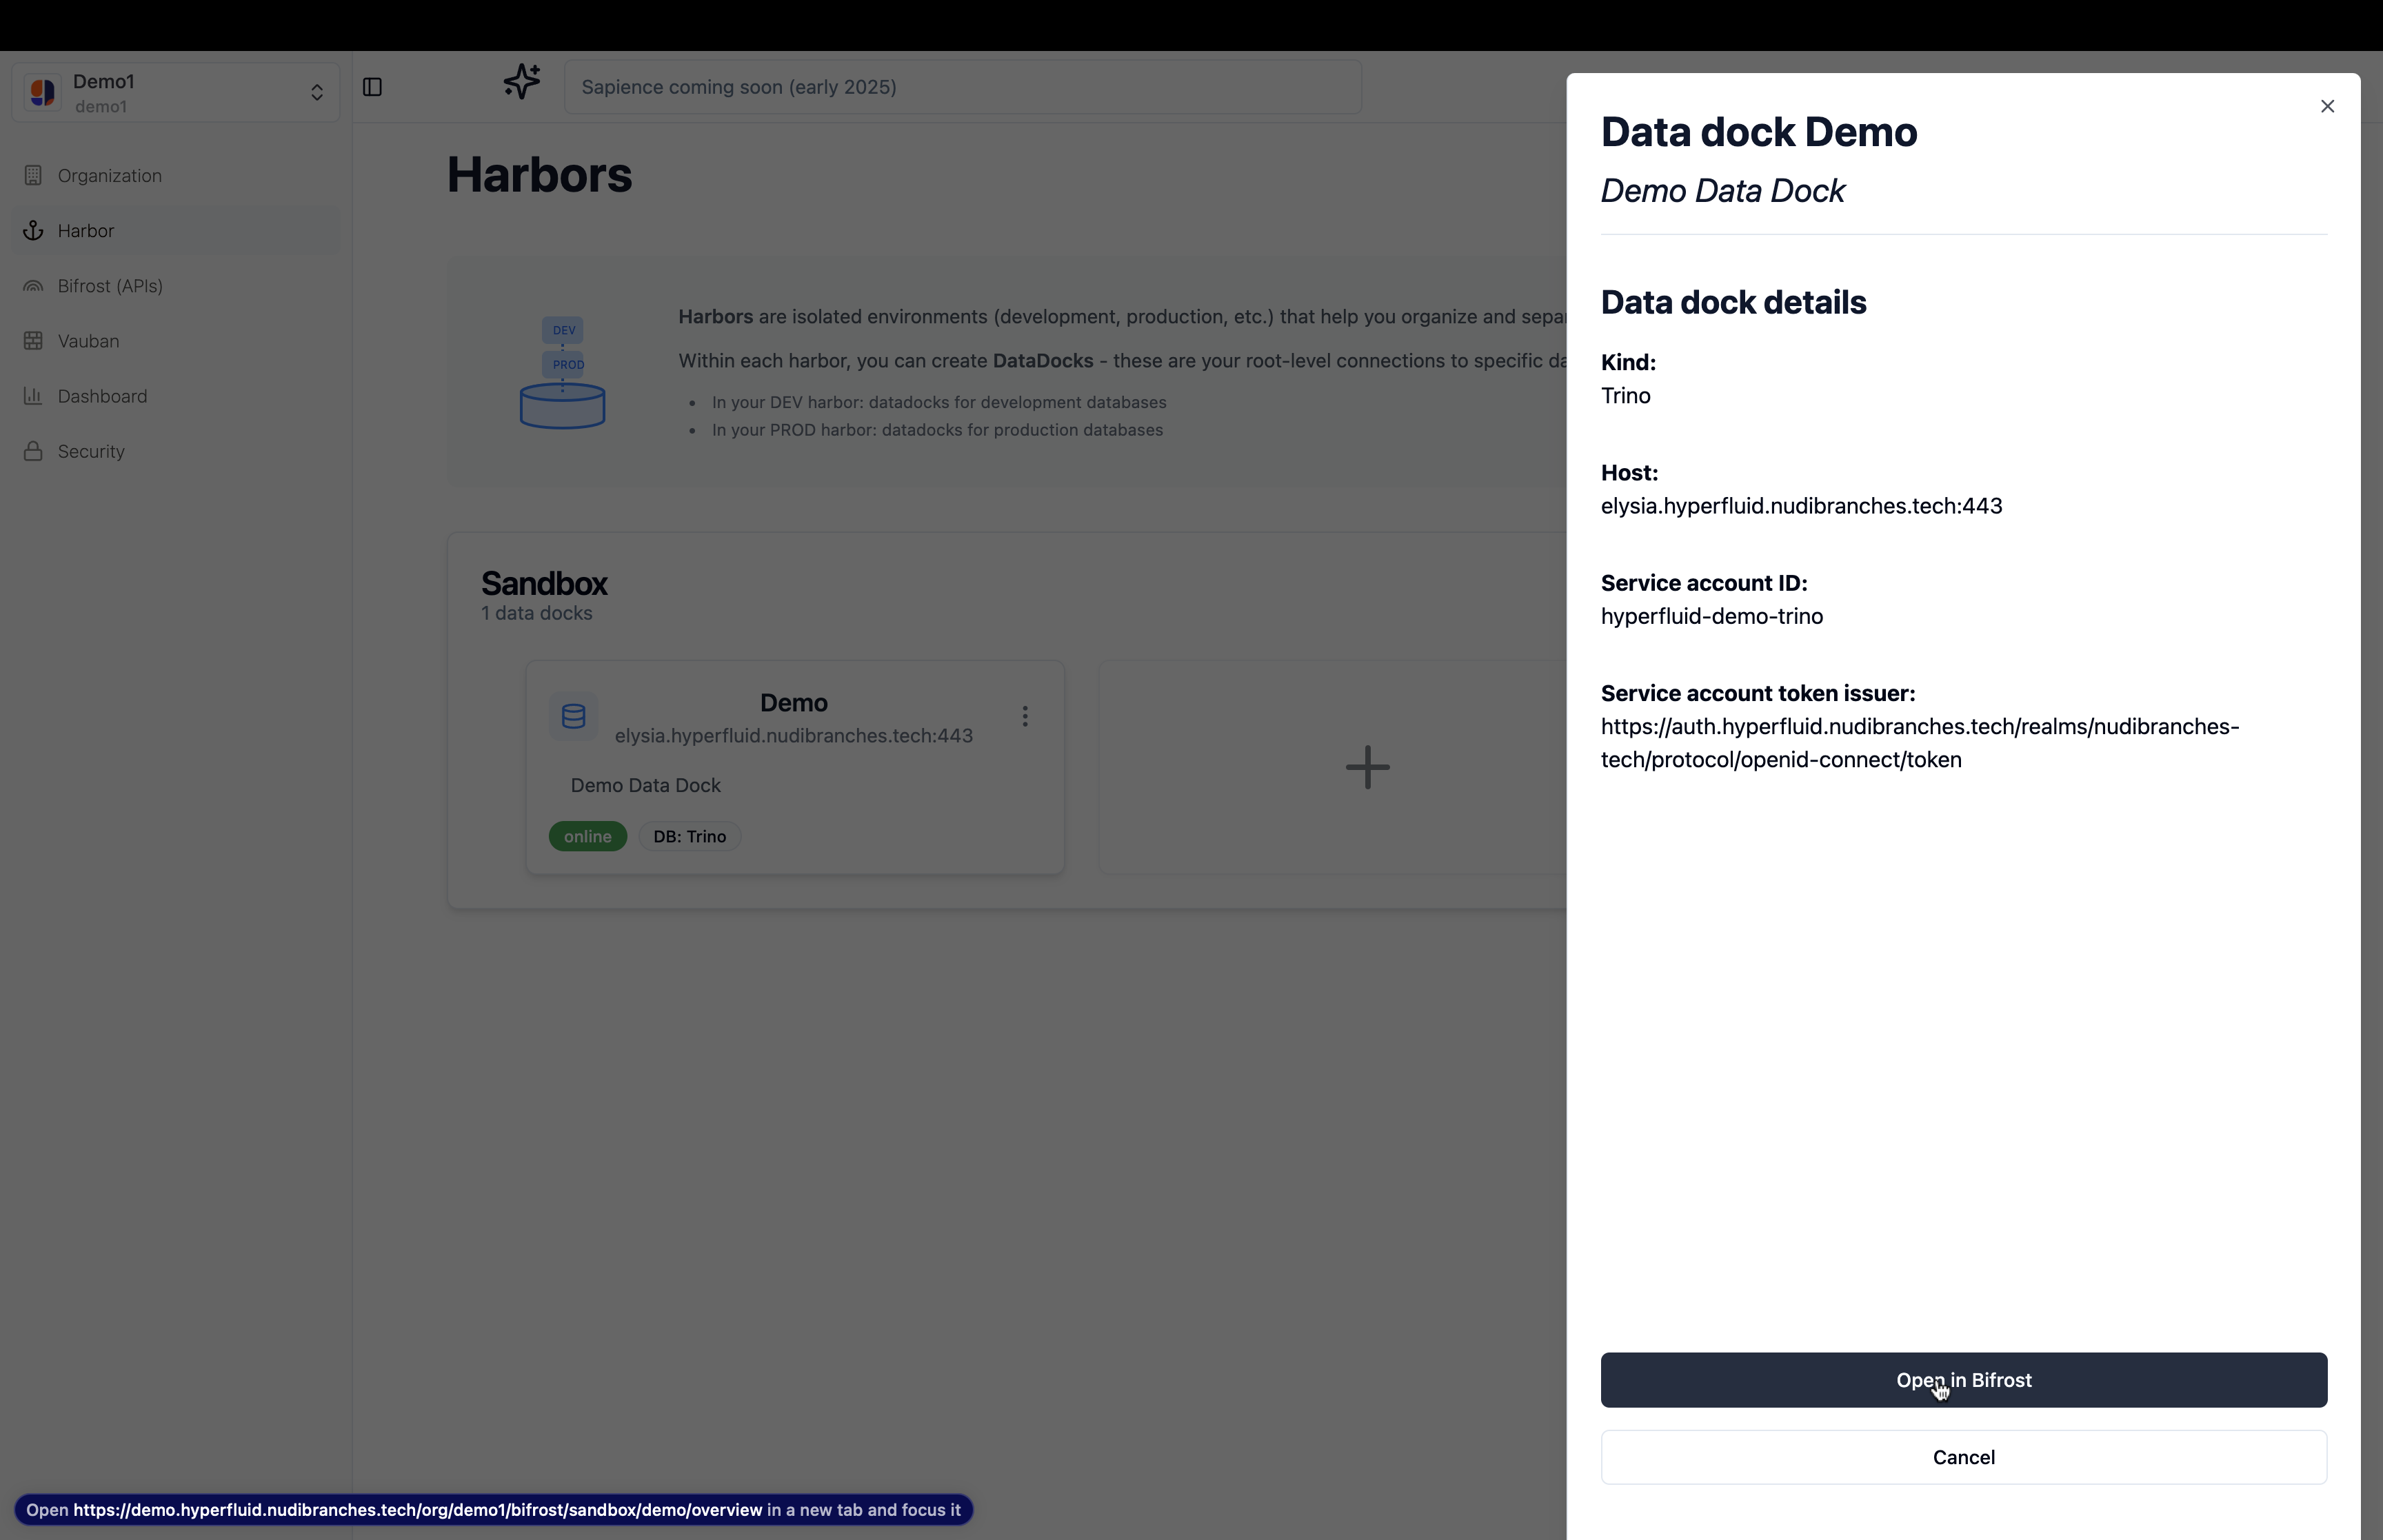
Explore Bifrost
Overview
In the bifrost overview page, you can have a quick overview of the data dock, its status and settings.
If you want to quickly switch to another data dock, you can use the selector on the top, next to ‘Bifrost’.
If you want to start exploring the data dock, you can click on the ‘Tables’ tab.
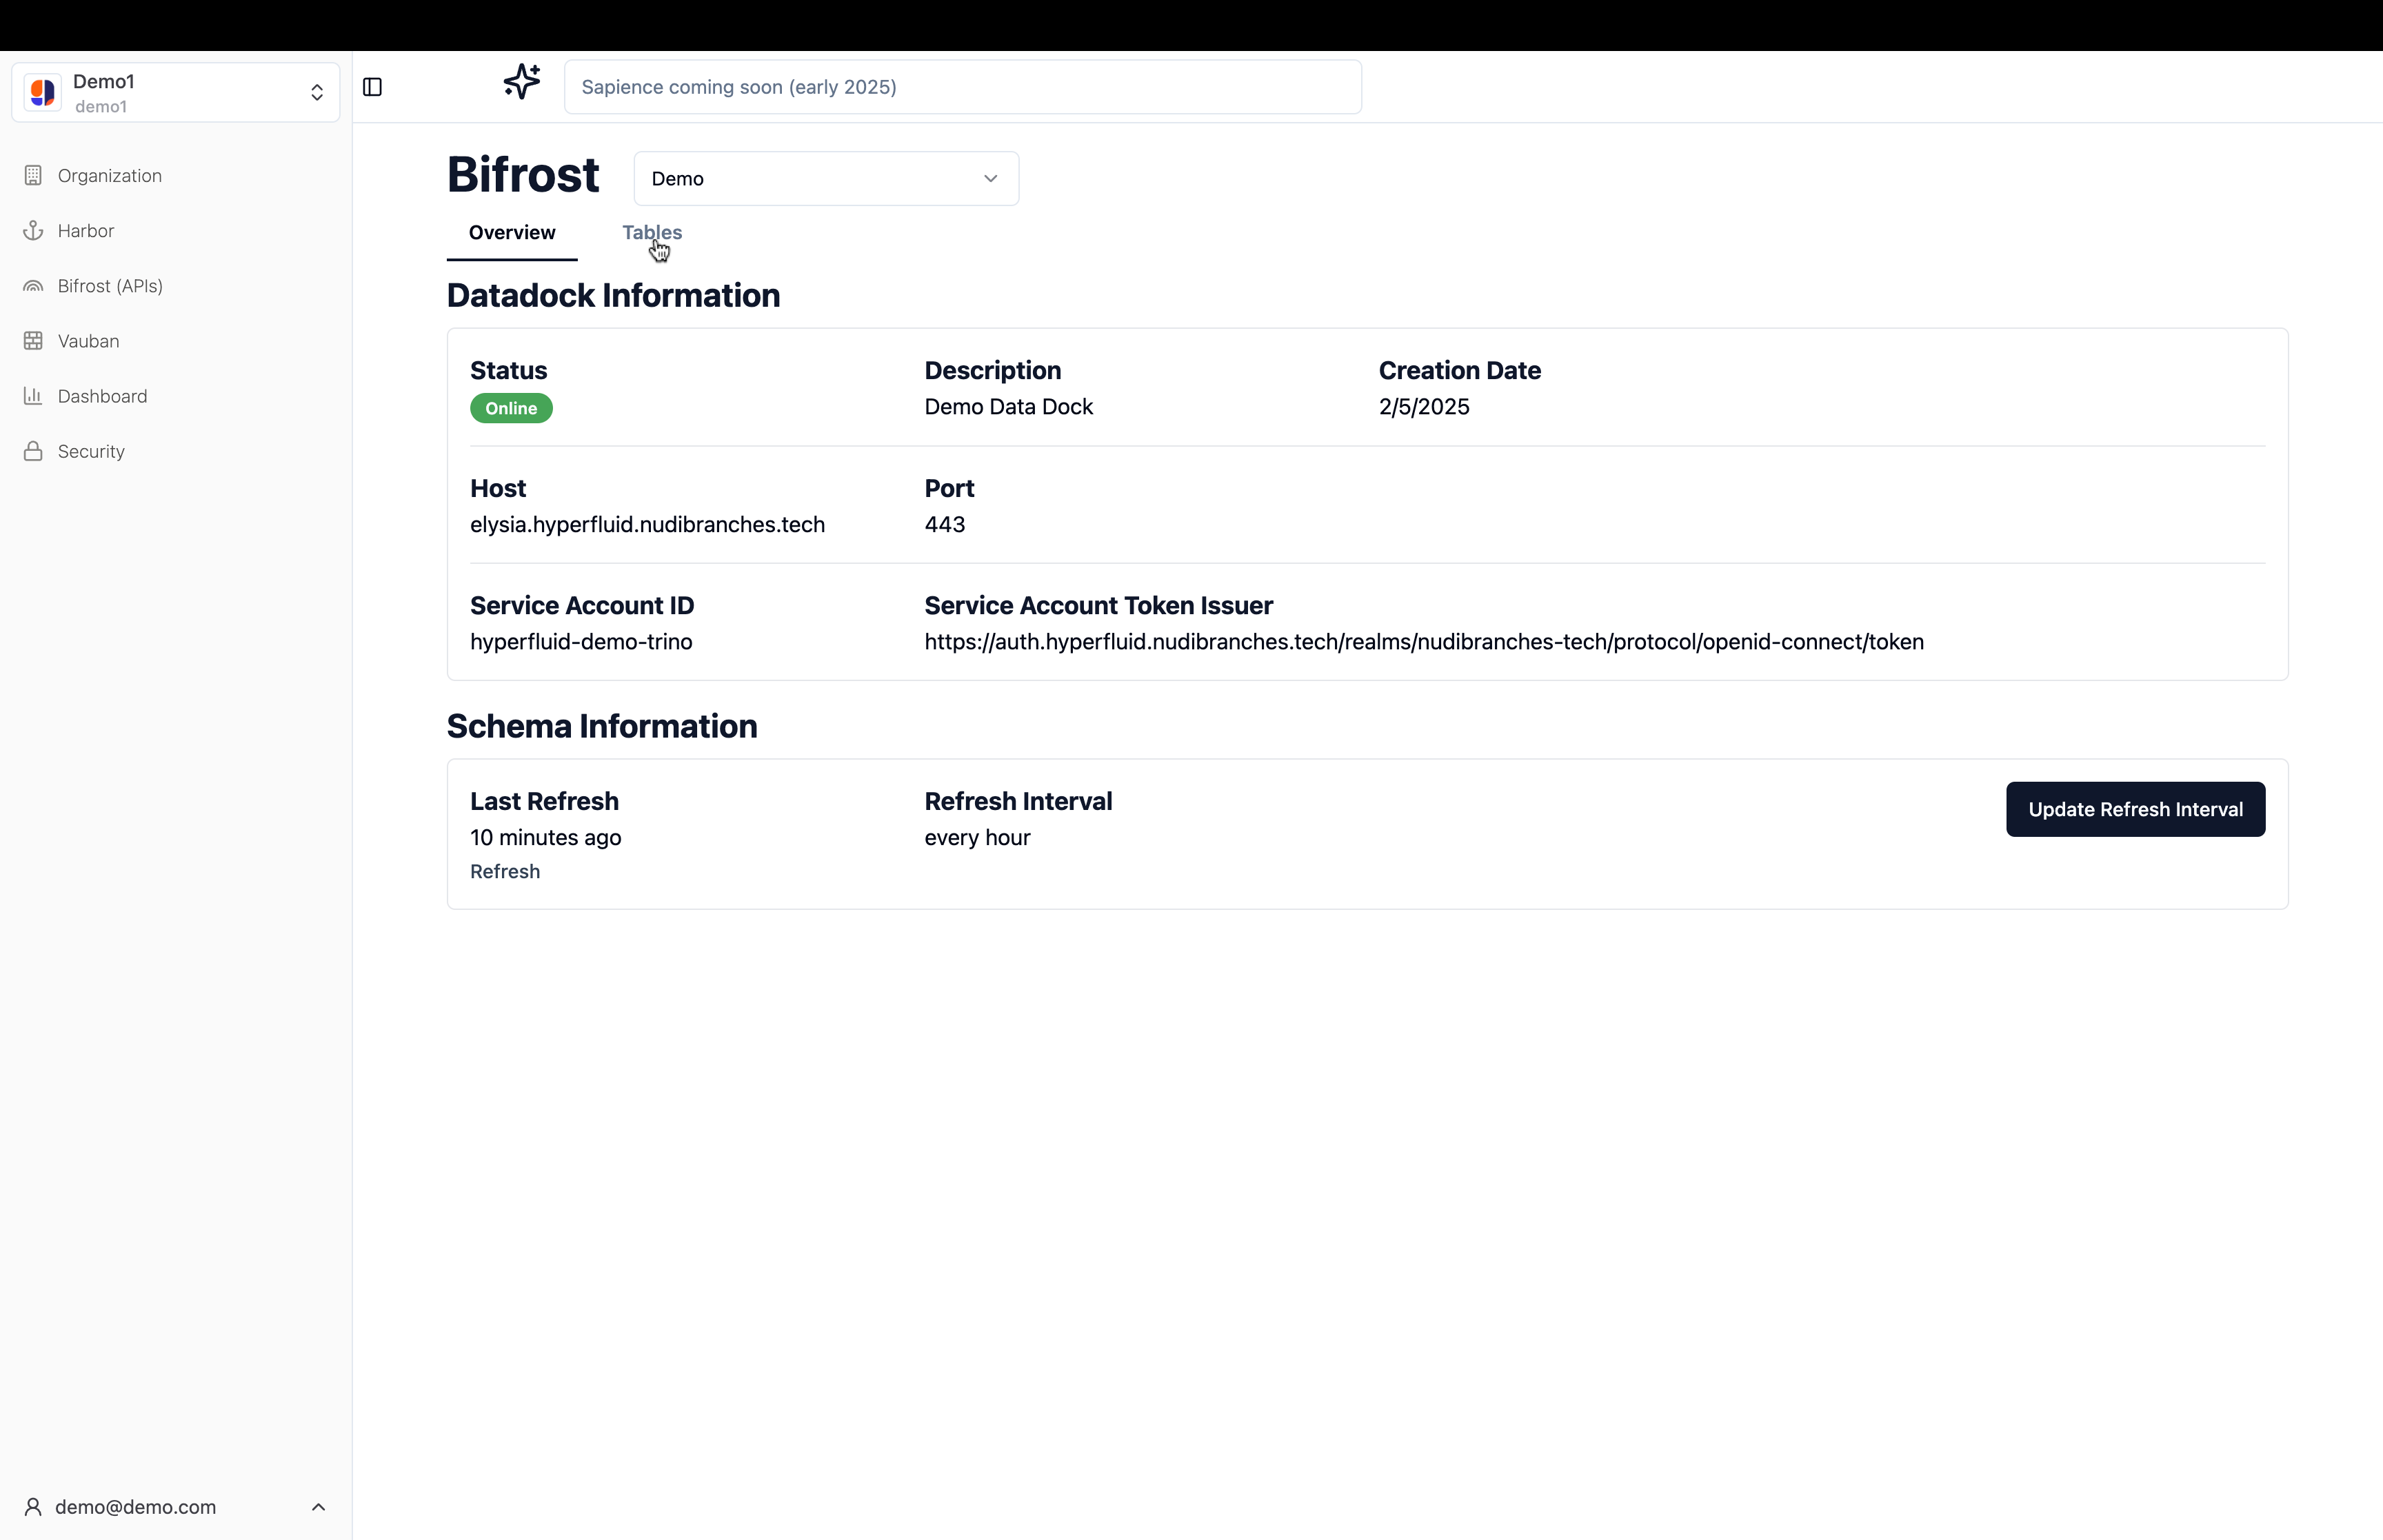
In the tables page, you can see all the tables in the data dock.
You can filters them by name, by schema, or by catalog in order to find the table you’re looking for.
When you want to enter a detailed view of a table, you can click on the table row, this will open the table page.
detailed view of a table
In the table page, you have a lot of information accessible.
The first thing you can see on the left is a list of the columns in the table and their types.
On the right, you have a panel, with the different protocols available to interact with the bifrost API.
Right now those are:
- Postgres
- GraphQL
- REST
but more are to come soon 😉.
On any of those protocols, you have a basic query displayed to show you how you can access the data.
Data sample
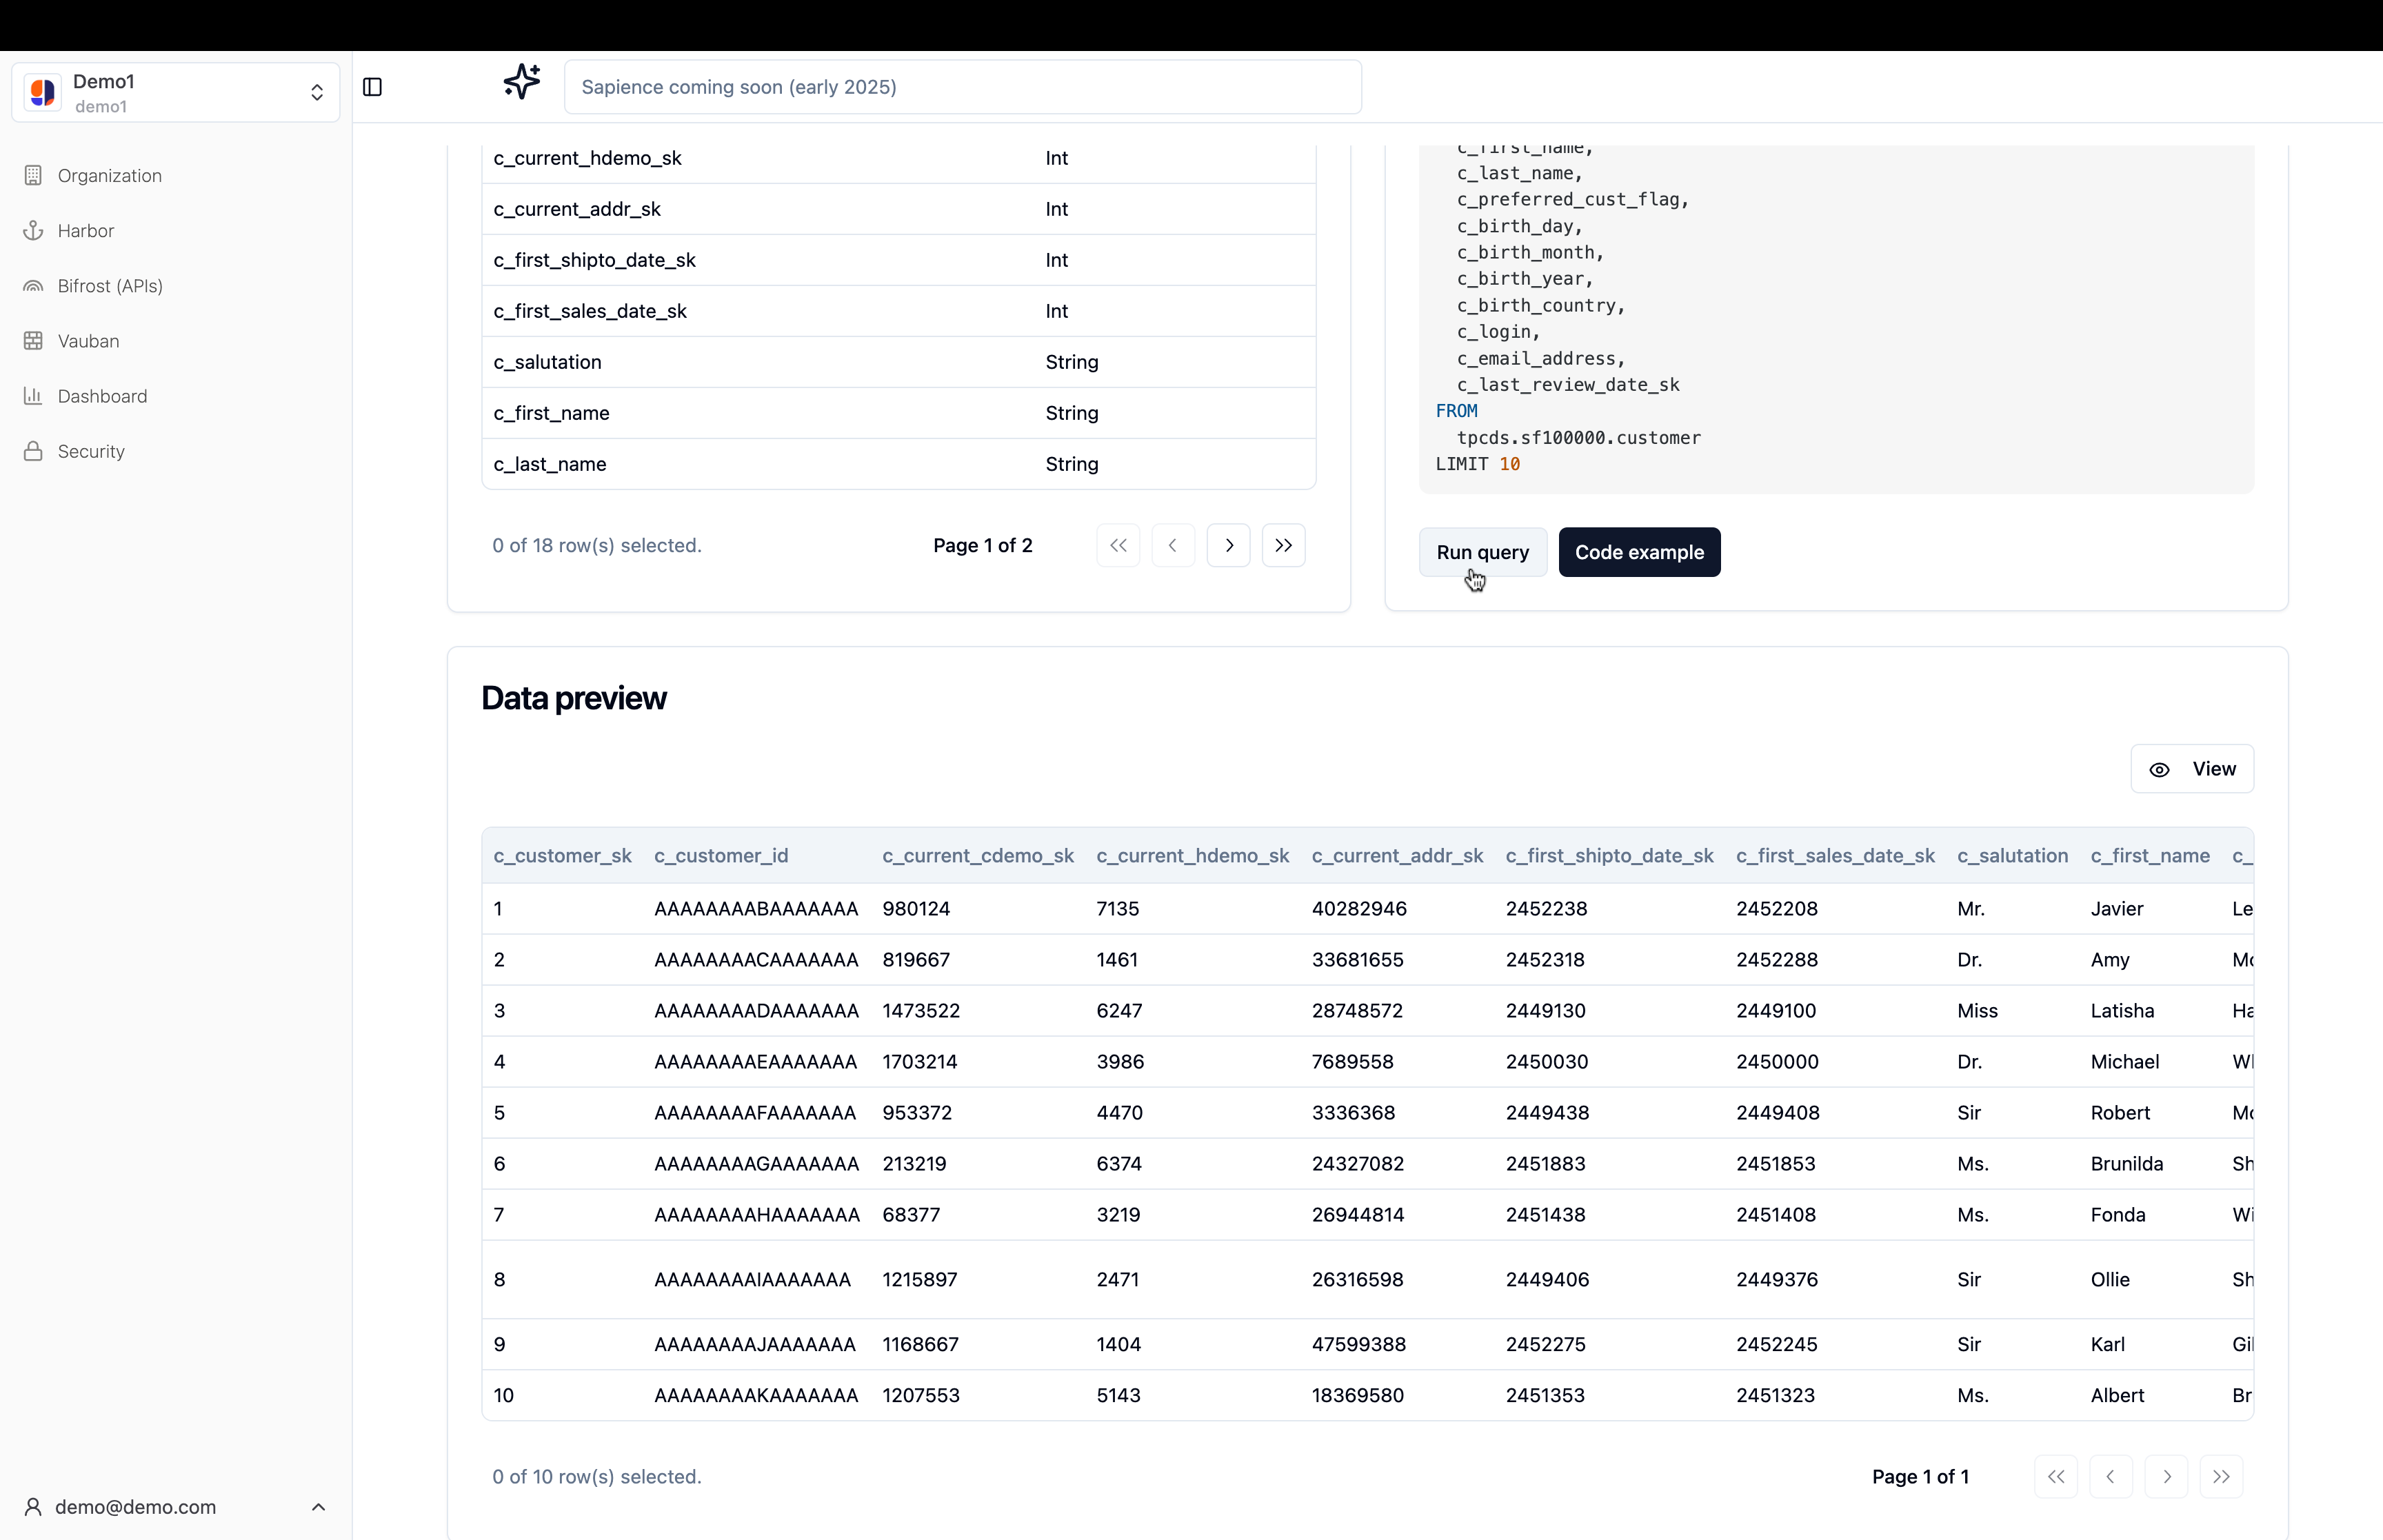
If you want to try it out, you can click on the ‘Run query’ button to run a query and get a sample of the data contained in the table.
Customize and test queries
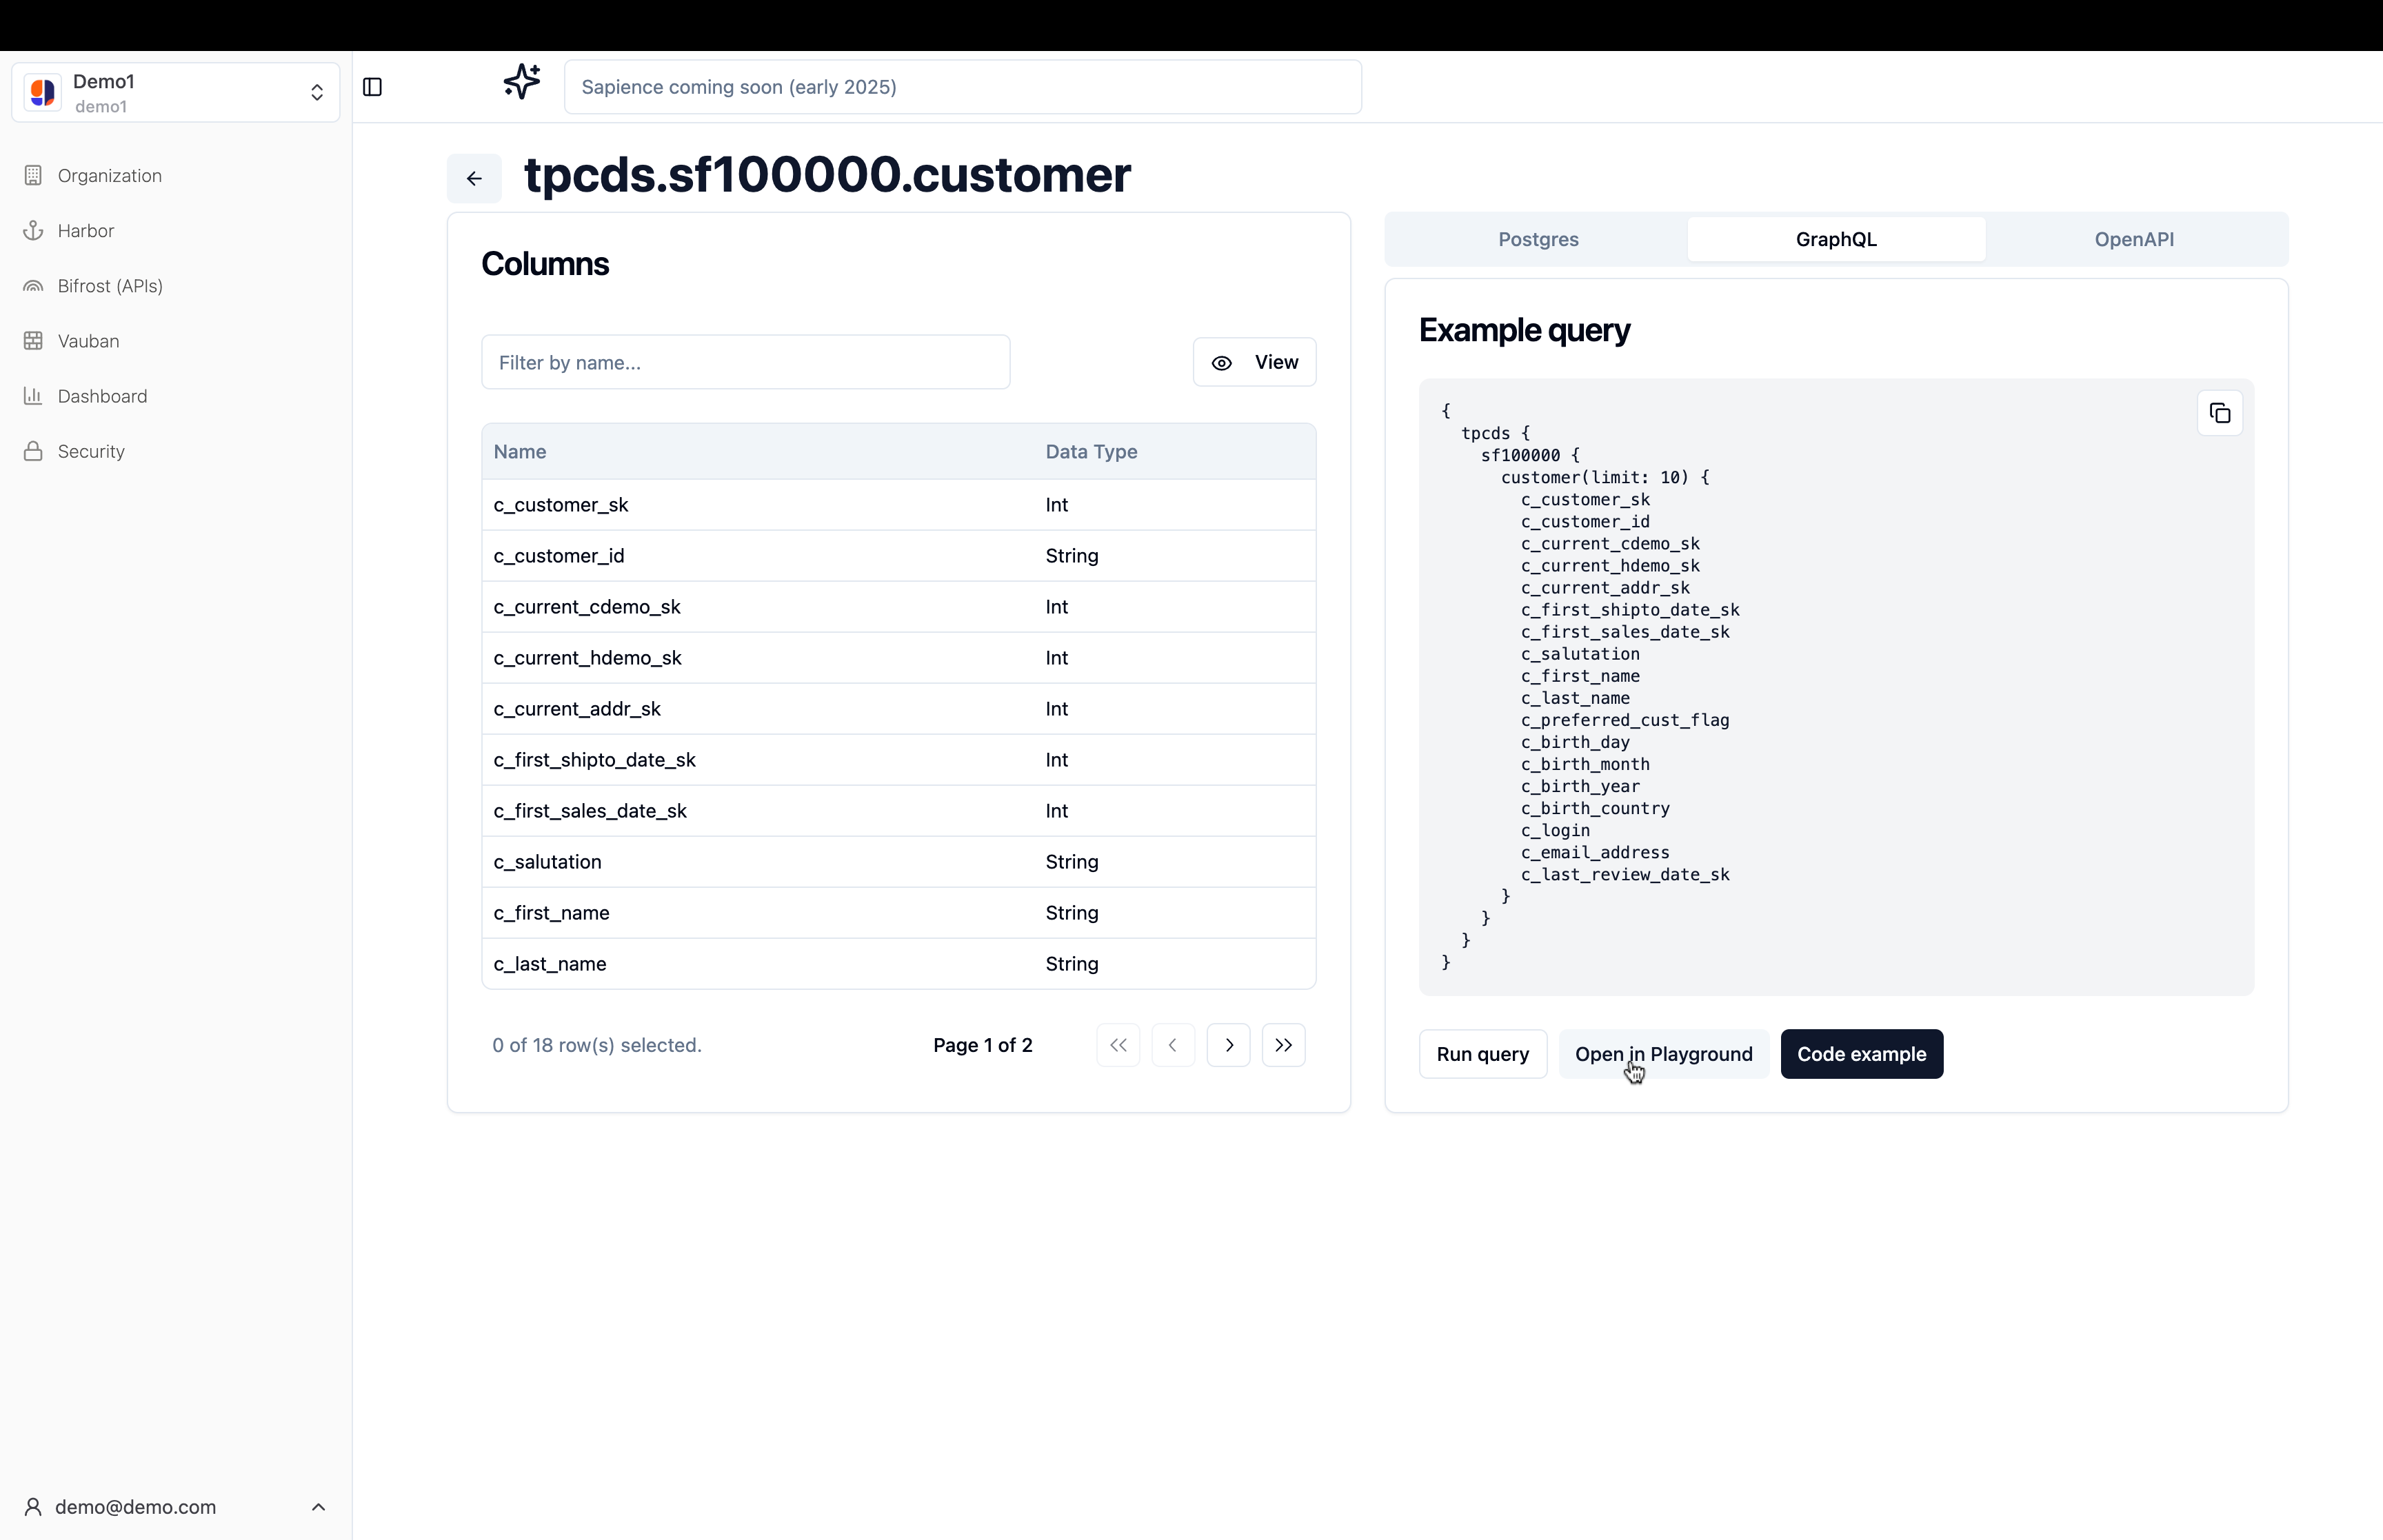
In order to customize more the queries, for graphql you can click on the ‘Open in playground’ button to open the GraphQL playground.
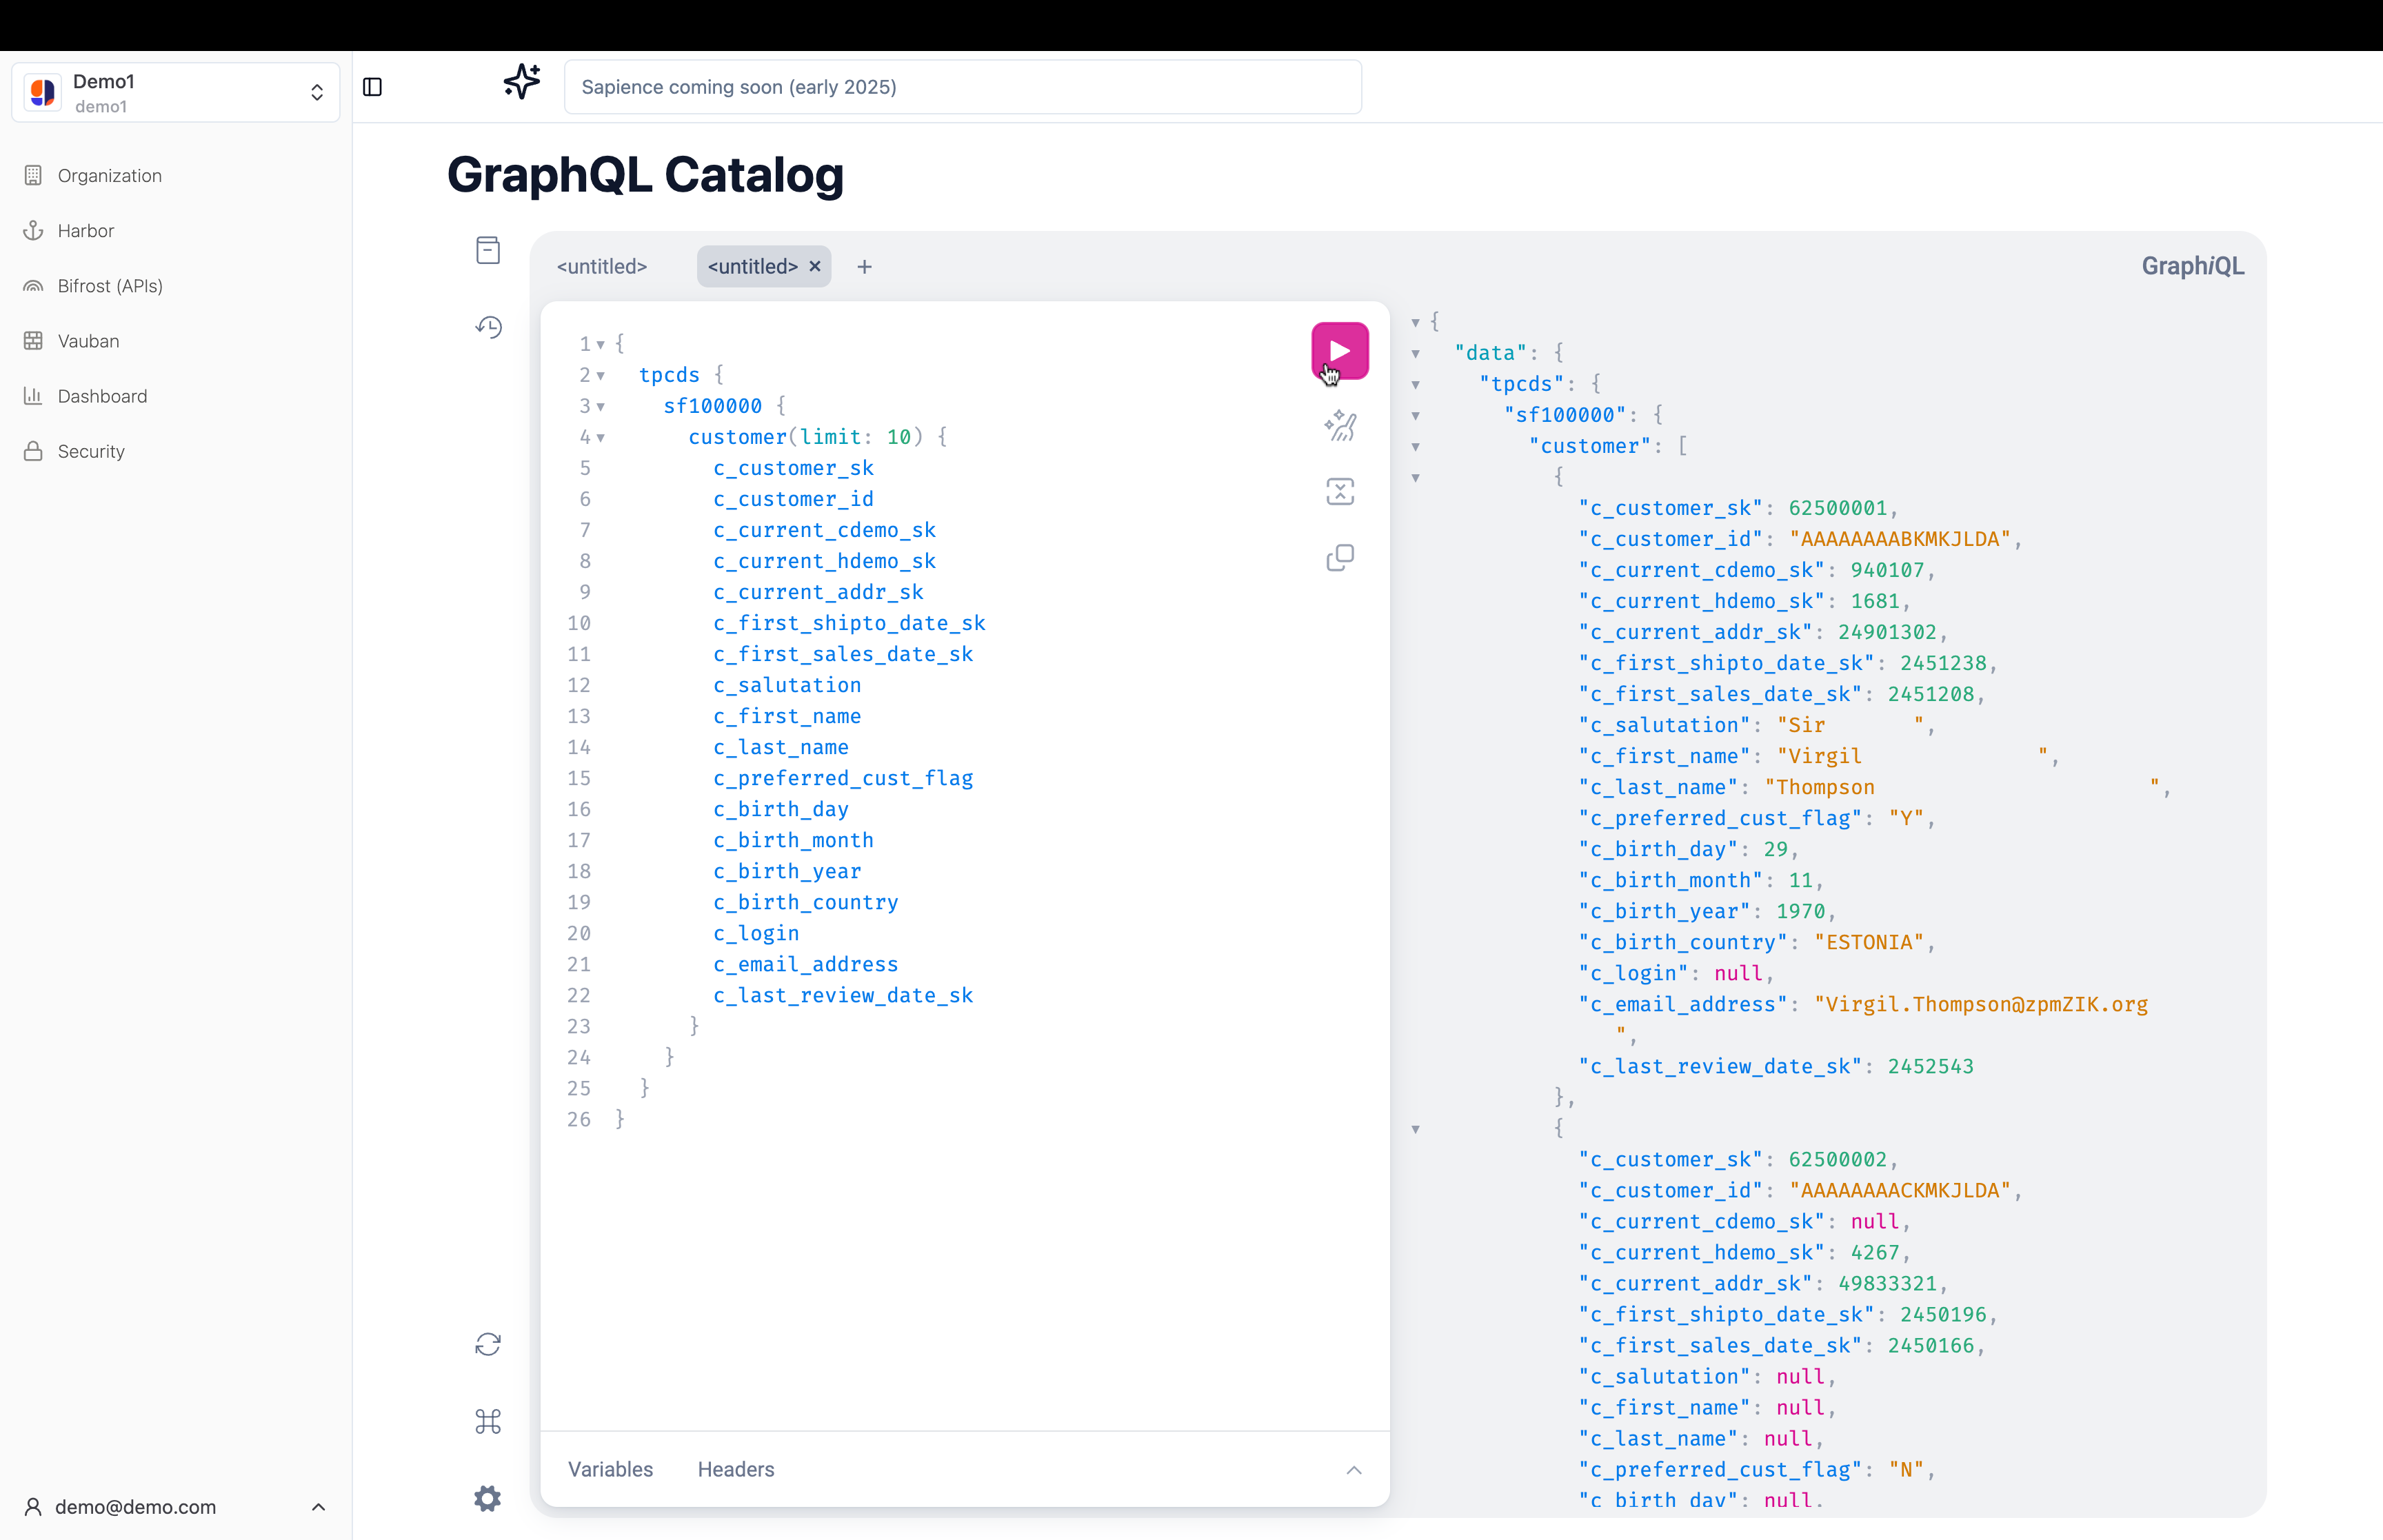
On this page you can write your own queries and see the results in real-time.
If you want to learn more about using the queries, please refer to the Querying data with GraphQL guide.
The same goes for OpenApi, using the ‘Open swagger UI’ button will open the swagger UI where you can test the API.
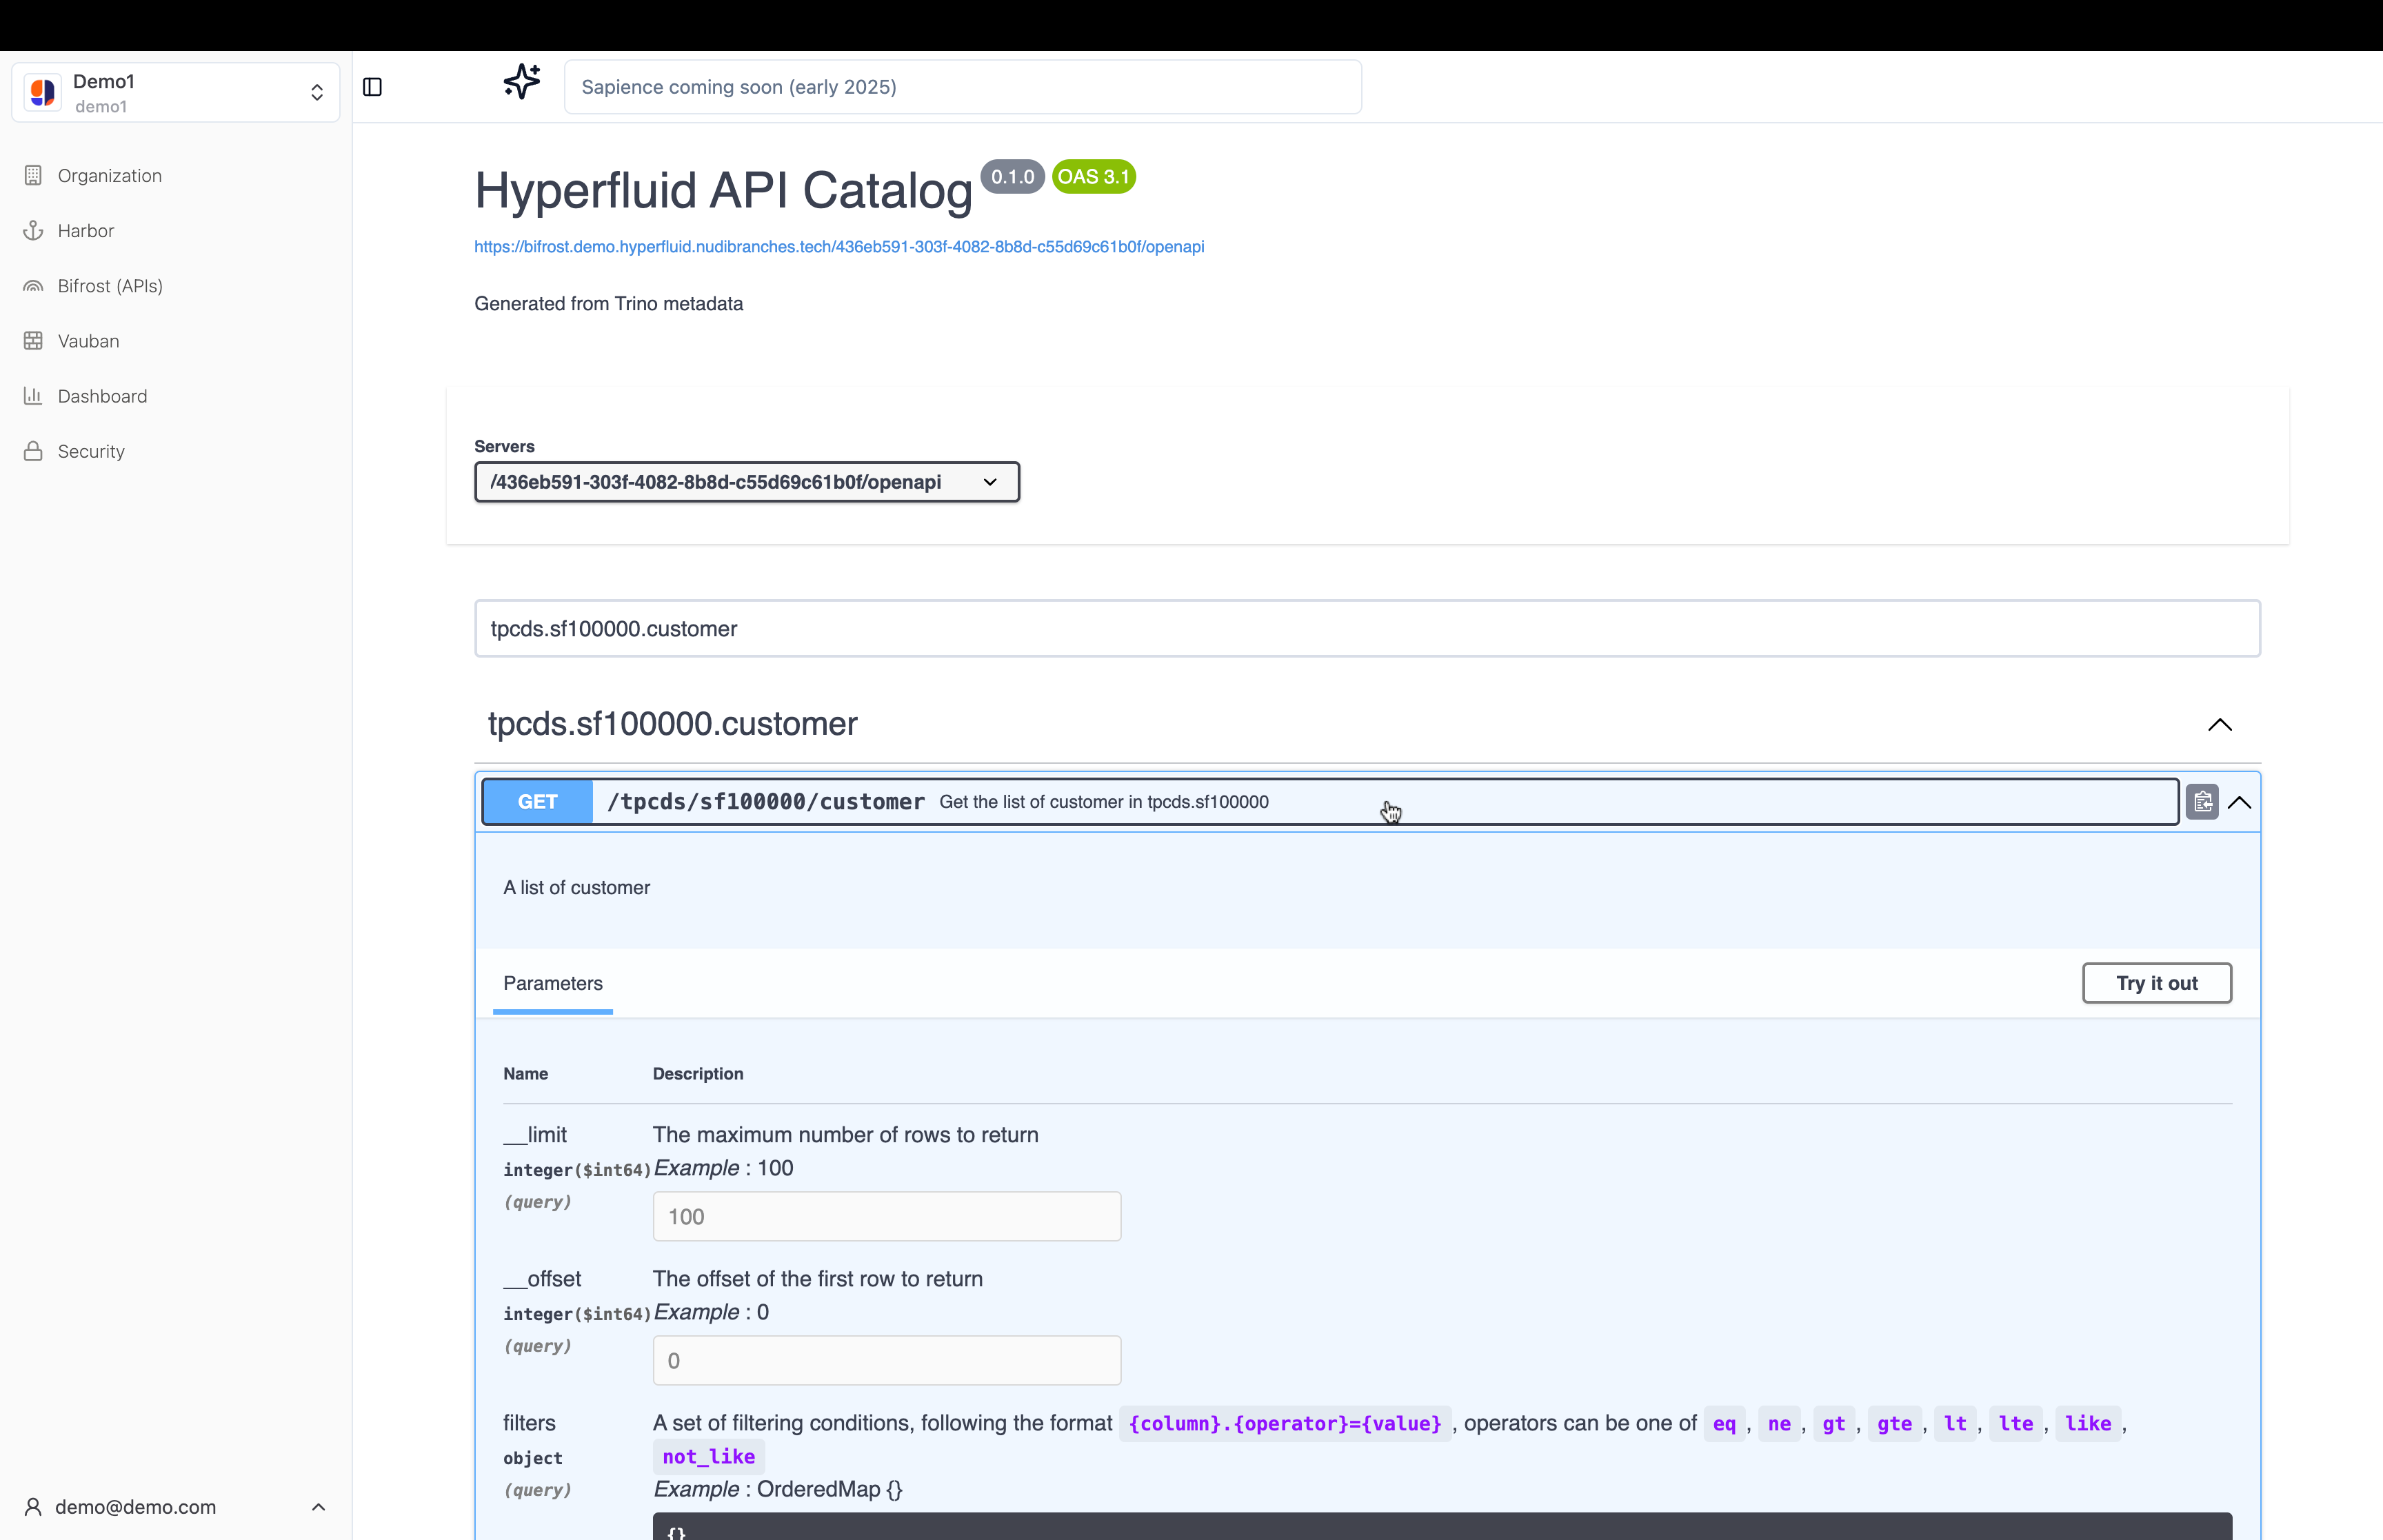
If you want to learn more about using the API, please refer to the Querying data with OpenAPI guide.
Code example
If you want to see a code example on how to interact with the API, you can click on the ‘Code example’ button.
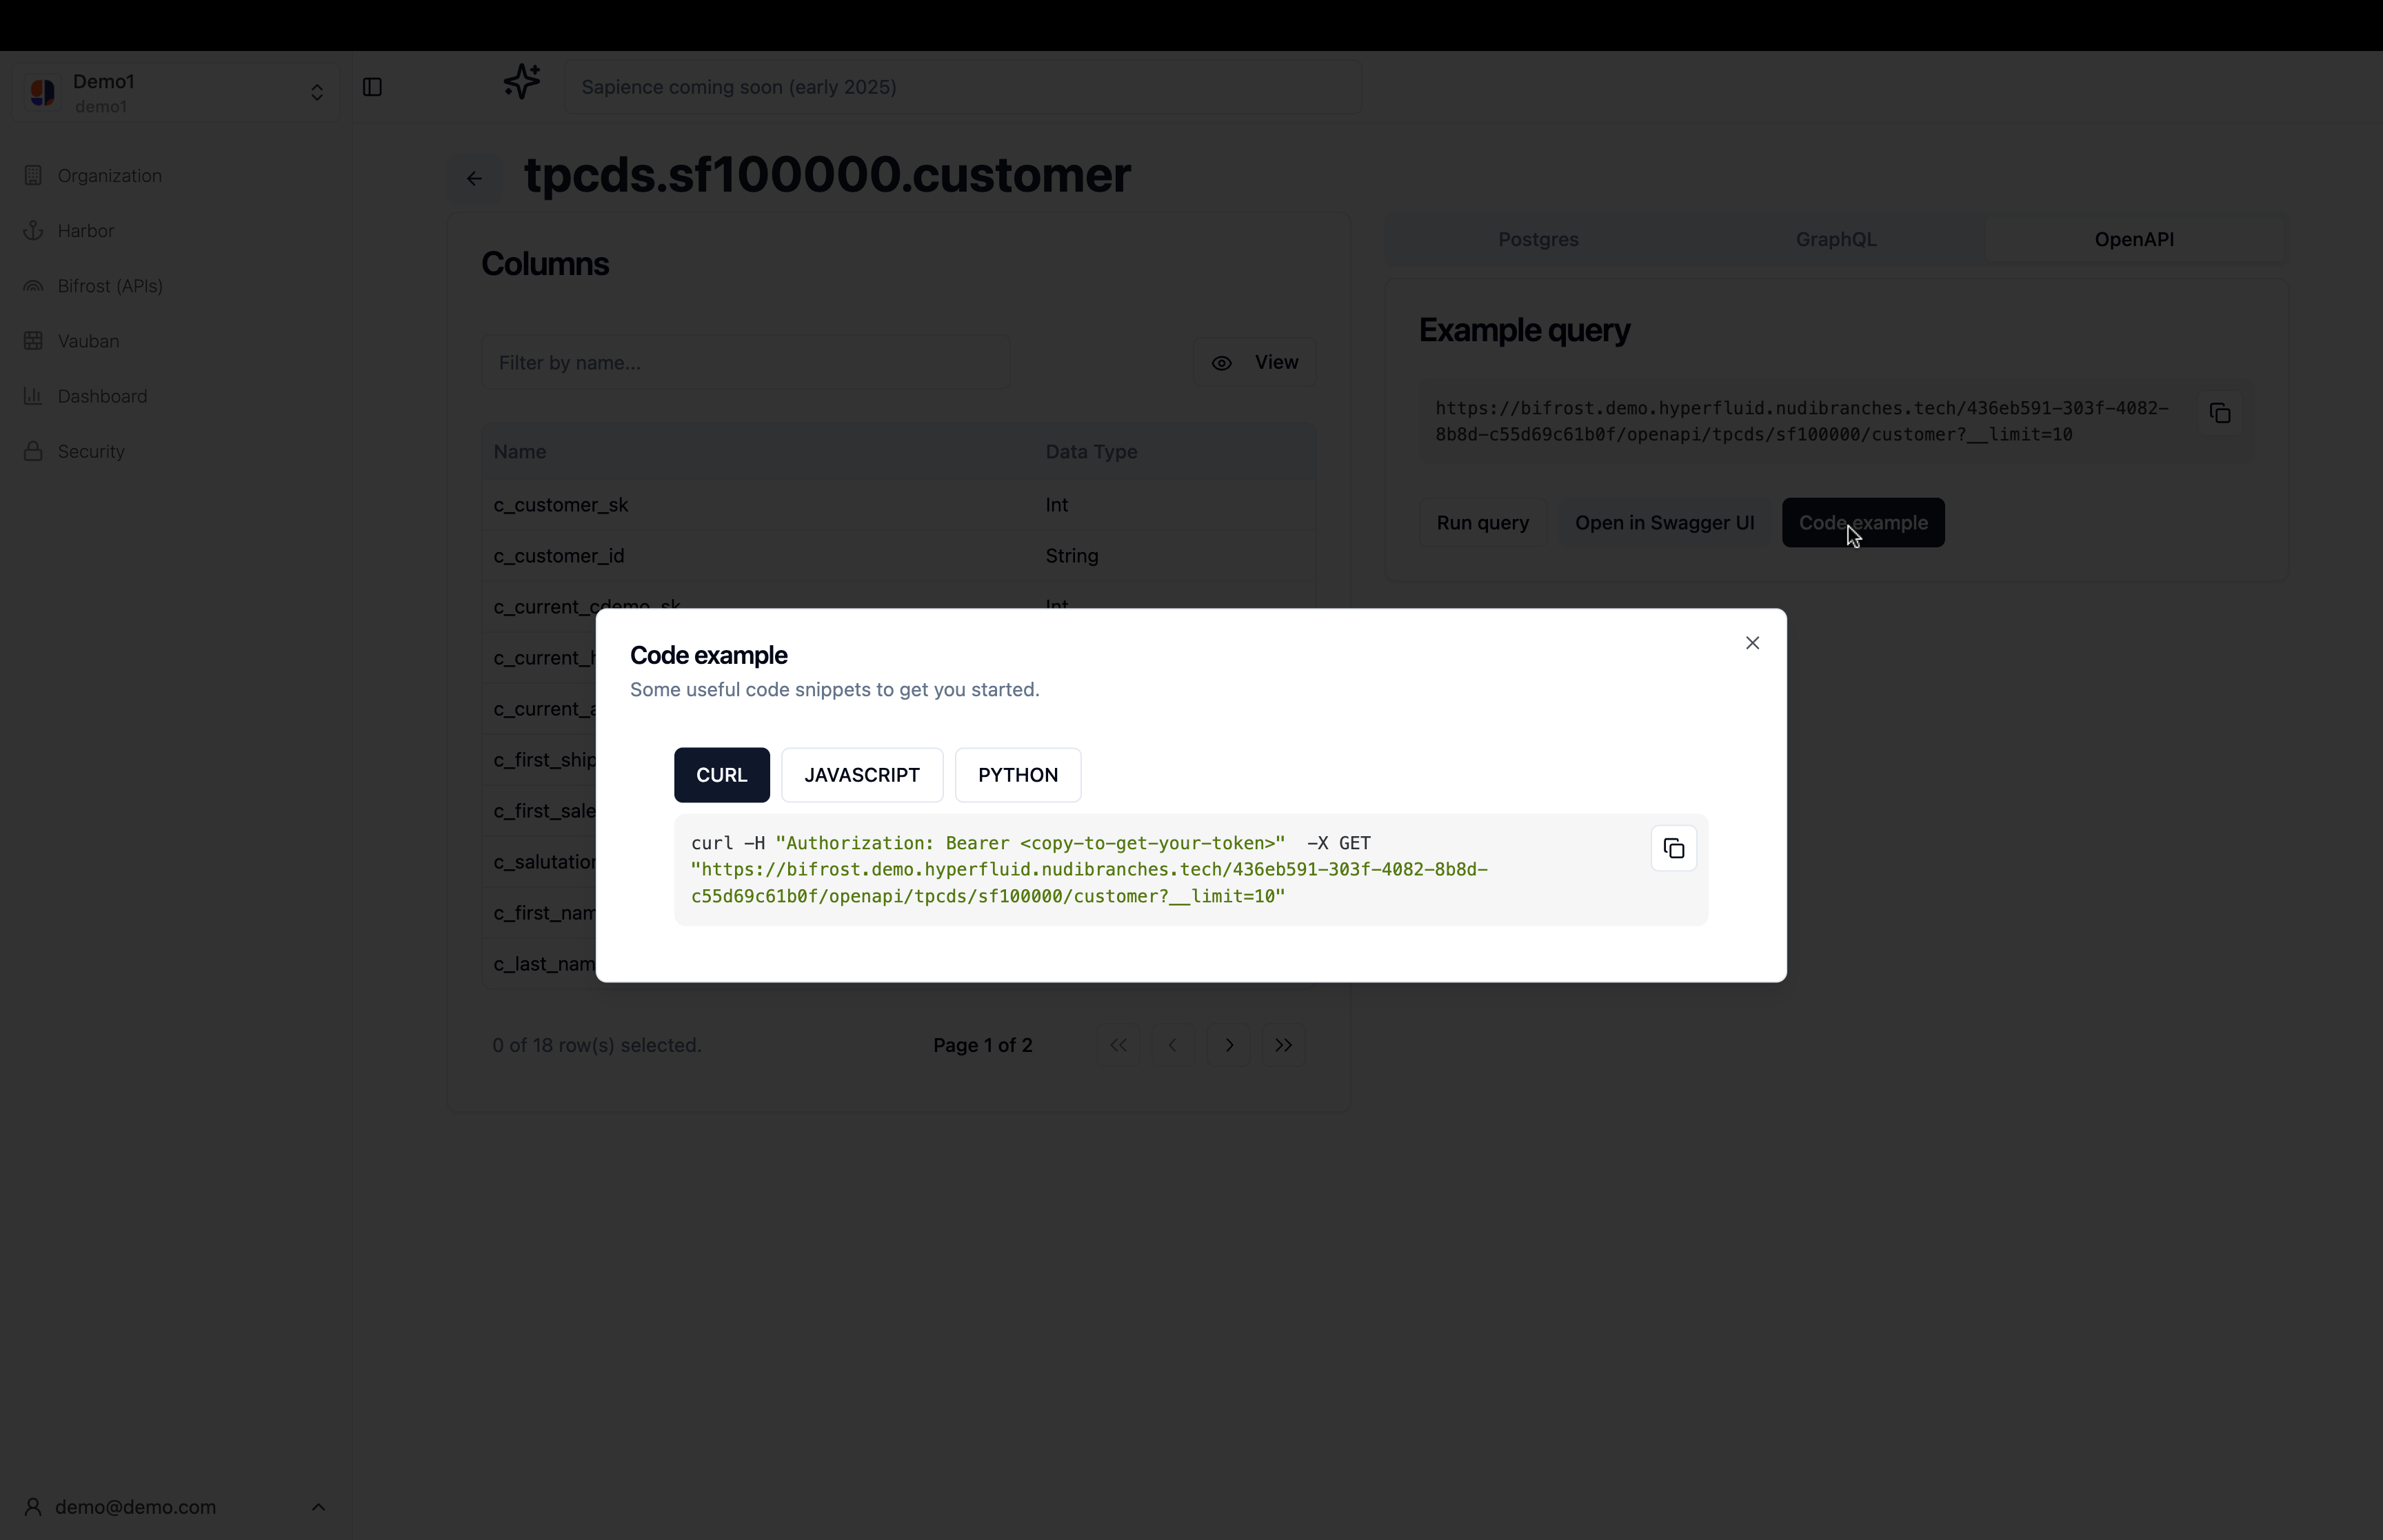
This will open a modal with a code example in different languages.
You can copy the code (using the copy button) and paste it in your codebase to start interacting with the API.